-
-
Notifications
You must be signed in to change notification settings - Fork 12
Using Mugshot
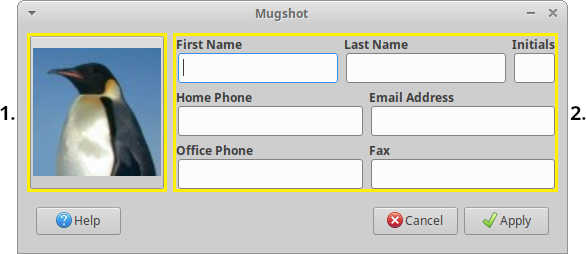
When you first open Mugshot, you are presented with the window shown in the example below. The two main parts of the window are highlighted in the example:
- User profile image
The window button used to define your profile image. The selected image will be shown as label in the image button. - User profile details
Where the required personal data is inserted.
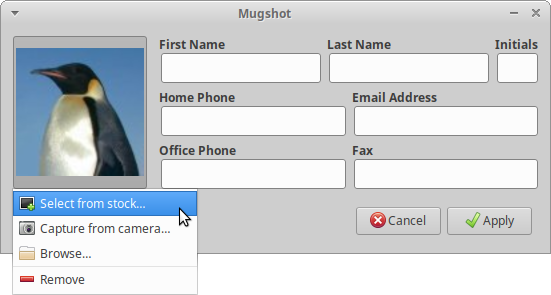
One of the key features of Mugshot, and the reason for its existence, is the ease of choosing a profile image. Mugshot provides three methods of selection:
- Stock browser images
- Webcam images captures
- File selection images
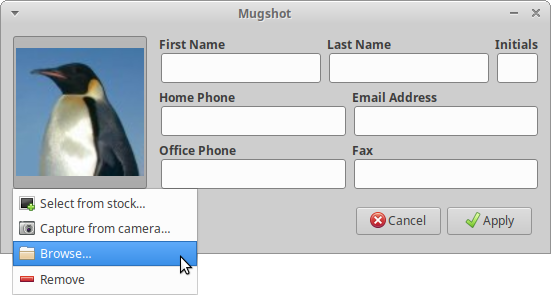
To select a stock browser image as your profile image, click the image button and in the context menu that will open below it choose the "Select from stock..." option.
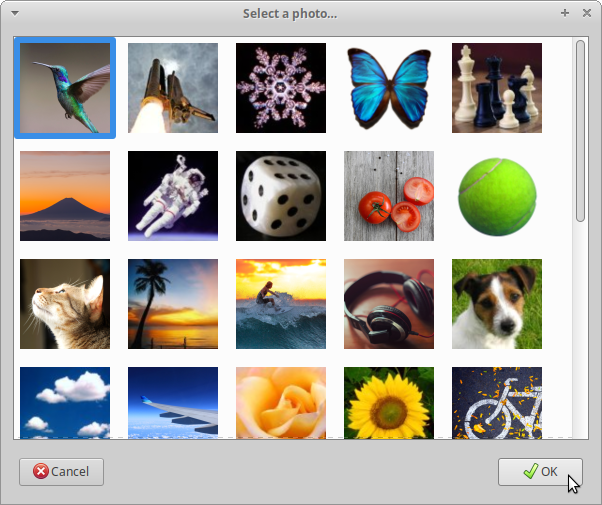
Once the Select a photo... dialog opens just select one of the available photos and click the OK button. The Select a photo... dialog will close and the selected photo shows as label in the image button.
Mugshot requires the installation of the gstreamer1.0-tools package to use this feature.
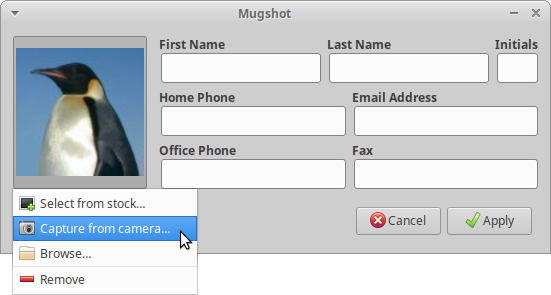
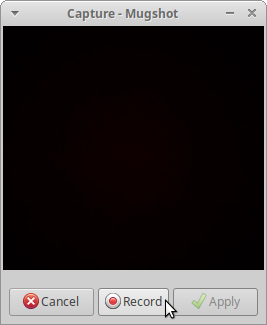
If you want to use a close-up photography of yourself, then after clicking the image button, choose the Capture from camera... option in the context menu to bring up the Capture - Mugshot dialog.
Your camera will then be initialized and the Record button will become available once the camera is ready. All you have to do is to place yourself in front of the camera and click the Record button to get your photo taken. Once that's done, just click the Apply button to close the Capture - Mugshot dialog and the taken photo will show as label in the image button.
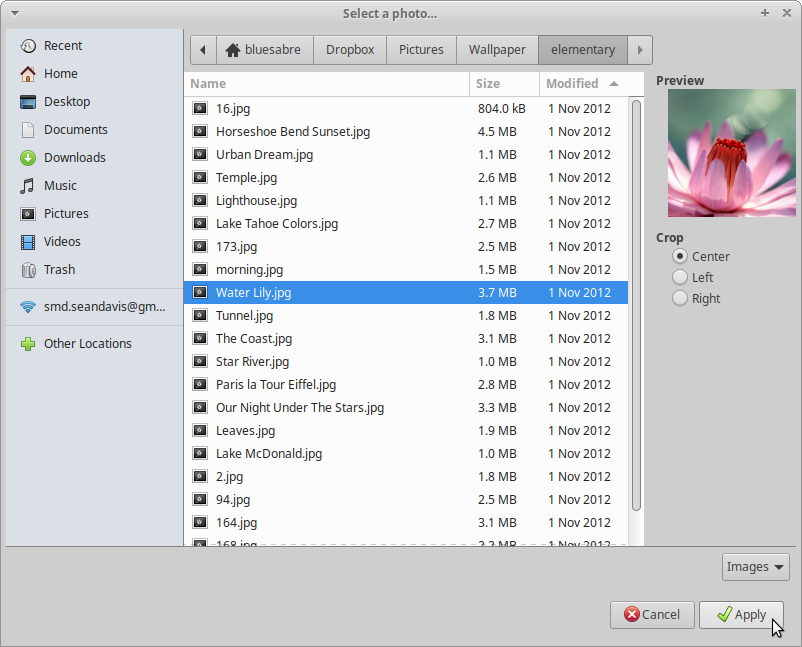
Based on the installed packages on your system and hardware support, you can opt to use a image file from a picture library as your profile image. To do it, choose the Browse... option in the context menu after clicking the image button in the Mugshot's GUI.
Once the Select a photo... dialog opens, navigate to the directory containing the wanted picture, select it and click the Apply button. Select a photo... dialog closes and the selected image file shows as label in the image button.
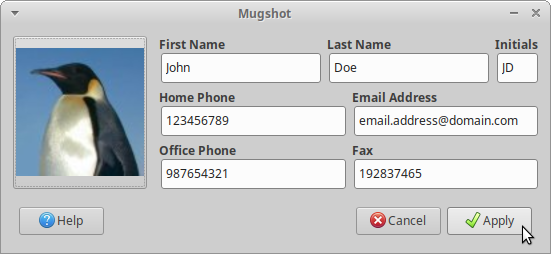
Since Mugshot retrieves user information from /etc/passwd, the first time you open it, First Name and Initials text-boxes come already filled with the username and the username's first letter of the user logged in.
Fill the text-boxes with the required personal data and click the Apply button. If Pidgin and/or LibreOffice are installed and regularly used, a prompt will be displayed asking if it's intended to update those settings.
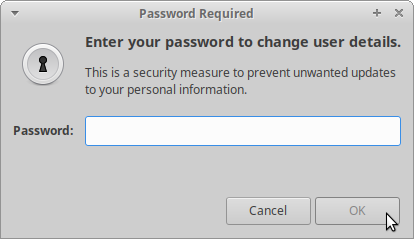
If the personal data inserted in the First Name and Last Name text-boxes differ from the existing values held in /etc/passwd, you'll be prompted to insert your password as a security measure to prevent unwanted updates to your personal information.
Except where otherwise noted, content on this wiki is licensed under the following license:
CC Attribution-Noncommercial-Share Alike 4.0 International
