-
Notifications
You must be signed in to change notification settings - Fork 0
Home
- About the tool
- The expected approach for localization
- Synchronizing resource files
- Exporting resources for translation
- Translating resources
- Importing translated resources
The tool is designed not only for simplifying developers life, but also for people who translate text into different languages and doesn't know much about software development.
The project should localized the same way as it is expected. Otherwise, the tool will not help much with translation.
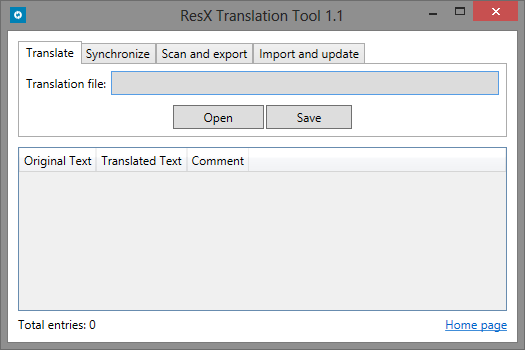
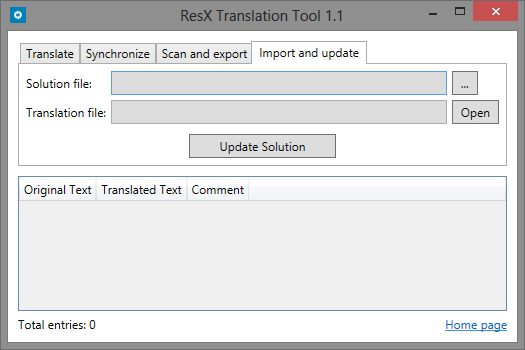
The UI contains several tabs corresponding to different project features. Each feature is described in a separate documentation section.
The project should be localized by putting different text resources into ResX files. It is expected that the following approach is used:
- resources for the base project language are placed into SomeResources.resx file (without culture code suffix);
- resources for every additional language are placed into SomeResources.XX.resx file, where XX - culture code (e.g. de - for German, or ru - for Russian).
- the base ResX file and files for additional languages are placed in the same folder.
It is also expected that the text resources which should be translated are marked with tags (e.g. [translate me]). For example, the base file SomeResources.resx has a text resource (key-value):
MainWindowTitle = Amazing application!
Then the German file SomeResources.de.resx should have the resource:
MainWindowTitle = [translate me] Amazing application!
The tag means that this is a resource taken from the base language file, and that it will be translated into German language later. The value after tag shows what the text that should be translated. It is convenient because this way we don't have to look up to the base file during translation.
However, the idea is that developers don't have to translate the project into different languages. They should maintain only the base resource file. The tool has a feature for synchronizing all resource files and tagging every entry that should be translated.
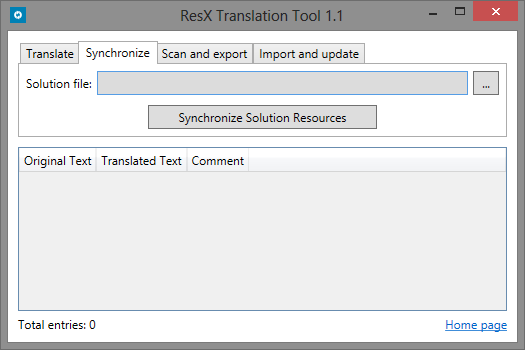
The Synchronize feature checks resource files for invalid text entries and fixes files by removing old unnecessary entries and adding missing ones.

In order to synchronize resources in ResX files you should select the Solution file (.sln) and click the Synchronize Solution Resources button.
The tool searches for all resources in solution folder (including subfolders) which have files for different languages: only base files with at least one additional language file will be processed.
The synchronization is done in 2 steps:
- Remove text entries from the additional files which are not present in the base file.
- Add new entries from the base file to the additional files. The values will be marked with tag.
After completion the tool shows a suggestion to open log file that contains information about resource files that were checked and the list of added and removed entries.
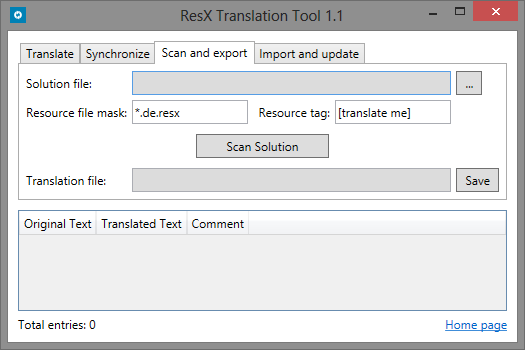
The Scan and export feature searches for all tagged resources and saves them to the XML file that then can be sent to the translator.

In order to scan ResX files you should:
- Select the Solution file (.sln).
- Fill in the Resource file mask. Note, that it is better to write mask only for files with the same language. Otherwise, you will get a list of resources for translation with mixed languages.
- Fill in the Resource tag.
- Click the Scan Solution button.
The tool finds all resource files by the specified mask and collects all entries which have a value with the specified tag. The list of found entries will be shown in the grid. Then you can save it to the file by pressing Save button.

