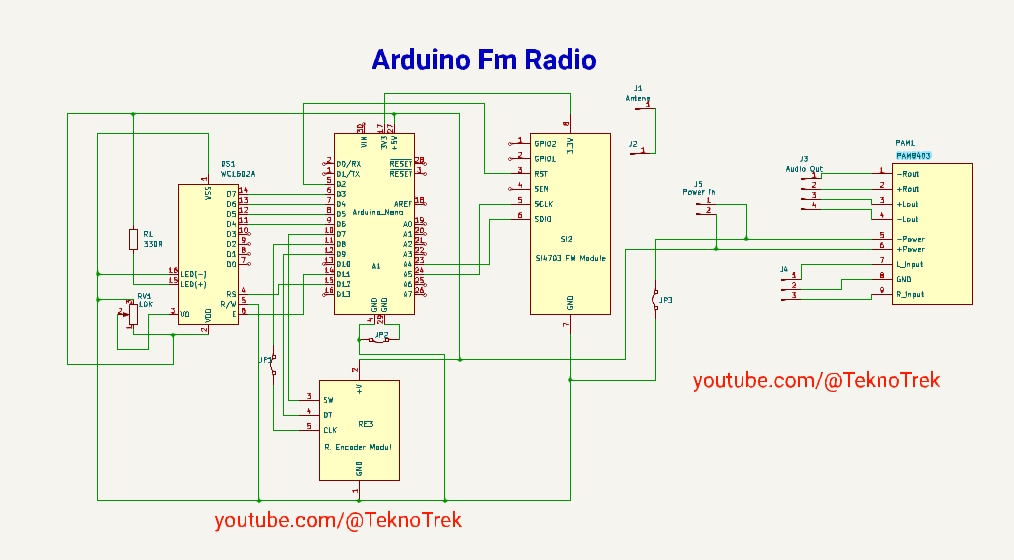
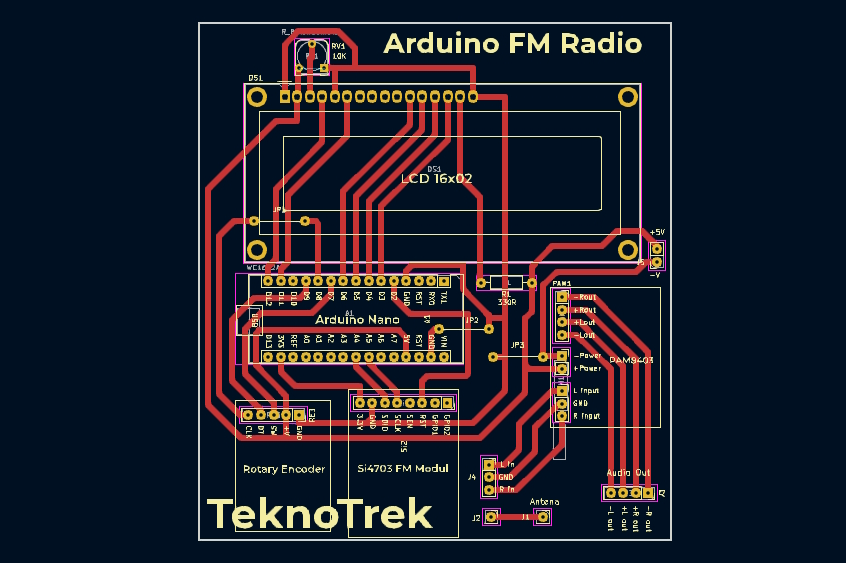
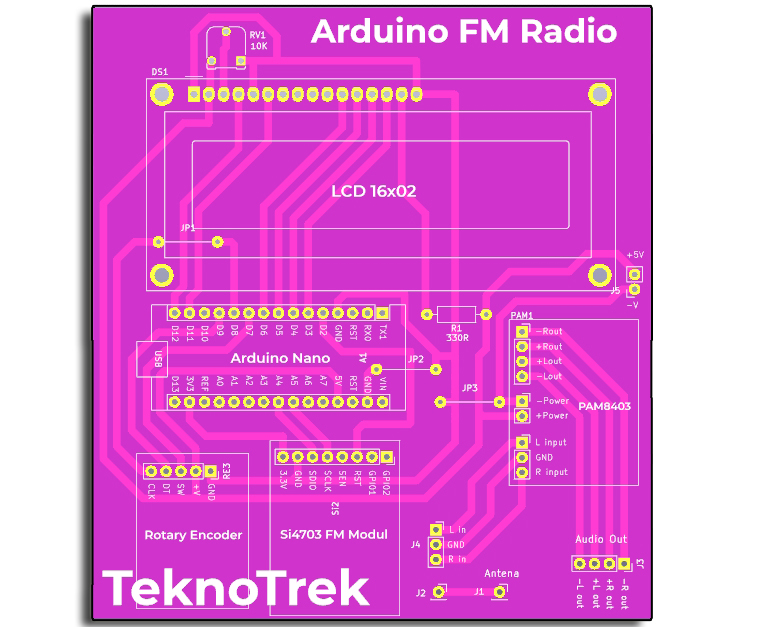
This project is an FM radio built using the Arduino Nano, Si4703 FM module, PAM8403 stereo amplifier module, rotary encoder, and a 16x02 LCD display. It is designed to tune FM frequencies and provide stereo audio output through speakers.
- Arduino Nano: Used as the microcontroller.
- Si4703 FM Radio Module: Receives FM radio signals.
- PAM8403 Stereo Amplifier Module: Amplifies the audio output.
- Rotary Encoder: Used for tuning the frequency and adjusting the volume.
- 16x02 LCD Display: Displays the current FM frequency.
This repository includes the following files:
- Schematic: Circuit schematic created using KiCad.
- PCB Design: Printed Circuit Board (PCB) design made with KiCad.
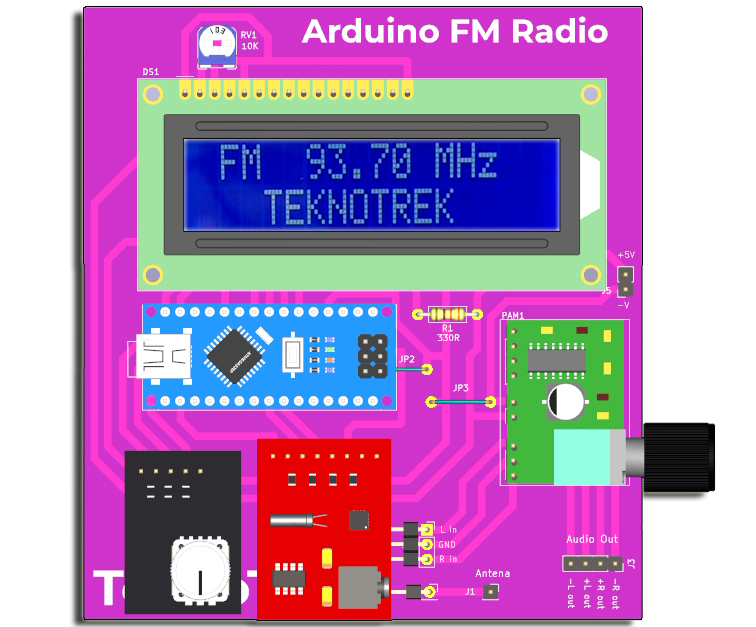
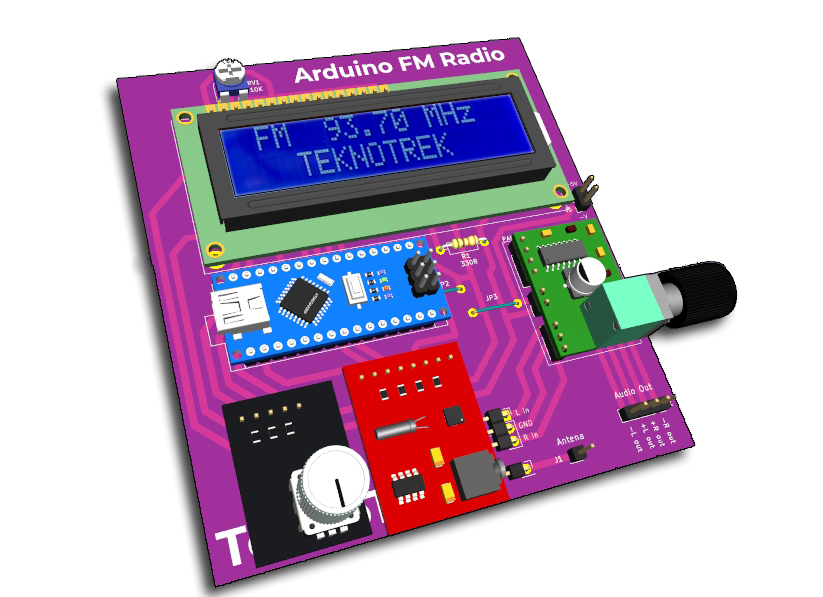
- 3D Models: 3D models of the components used in the project.
- Code: Arduino code to control the FM radio module and display frequencies on the LCD.
To run this project, you'll need:
- Arduino IDE (version 1.8.2 or newer)
- Si4703 Arduino library
- KiCad (for viewing the schematic and PCB design)
- Install Arduino IDE and add the Si4703 library.
- Upload the
.inofile from this repository to the Arduino Nano. - Connect the components as per the circuit schematic.
- Power the device, and use the rotary encoder to tune the radio frequency.
You can watch the full build process of this FM Radio on my YouTube channel Teknotrek. Click the link below to see how the circuit is assembled, soldered, and tested:
- 3D models of the components and the assembled circuit.
- Front and back views of the PCB.
- Real images of the completed project.
A 3D model of the assembled PCB is included to give you a better idea of how the final product will look.
This project is licensed under the MIT License. See the LICENSE file for more details.
