-
Notifications
You must be signed in to change notification settings - Fork 11
Running Fixinator on Bitbucket
Bitbucket has a notion of build pipelines, which can run every time you commit code to your bitbucket repository. We can easily create a pipeline to scan your code for vulnerabilities using Fixinator.
If you do not have a fixinator api key head over to https://fixinator.app/ to obtain one.
- Logged in to Bitbucket, click on your profile picture (Your Profile and Settings)
- Click on Settings
- Click on Account variables under the Pipelines heading
- Under name use
FIXINATOR_API_KEYfor value use your API key. - Click on the Lock icon to mark as a secure value (this prevents it from being leaked through logs)
- Click Add
The above process should make the key avaliable to all your repositories, but you can also just create a pipeline variable instead if you only need to add it to one repository.
The Bitbucket pipeline is defined by file in the root of your repository called bitbucket-pipelines.yml, so create a file named bitbucket-pipelines.yml with the following contents:
image: openjdk:8

pipelines:
  default:
    - step:
        caches:
          - commandbox
          - cache
        script:
          - test -e ~/cache/box || curl --location -o ~/box.zip https://www.ortussolutions.com/parent/download/commandbox/type/bin
          - test -e ~/cache/box || unzip ~/box.zip -d ~/cache/
          - chmod a+x ~/cache/box
          - ~/cache/box install fixinator
          - mkdir ./test-reports
          - ~/cache/box fixinator path=. resultFile=./test-reports/fixinator-results.xml resultFormat=junit
definitions:
  caches:
    commandbox: ~/.CommandBox/
    cache: ~/cache/
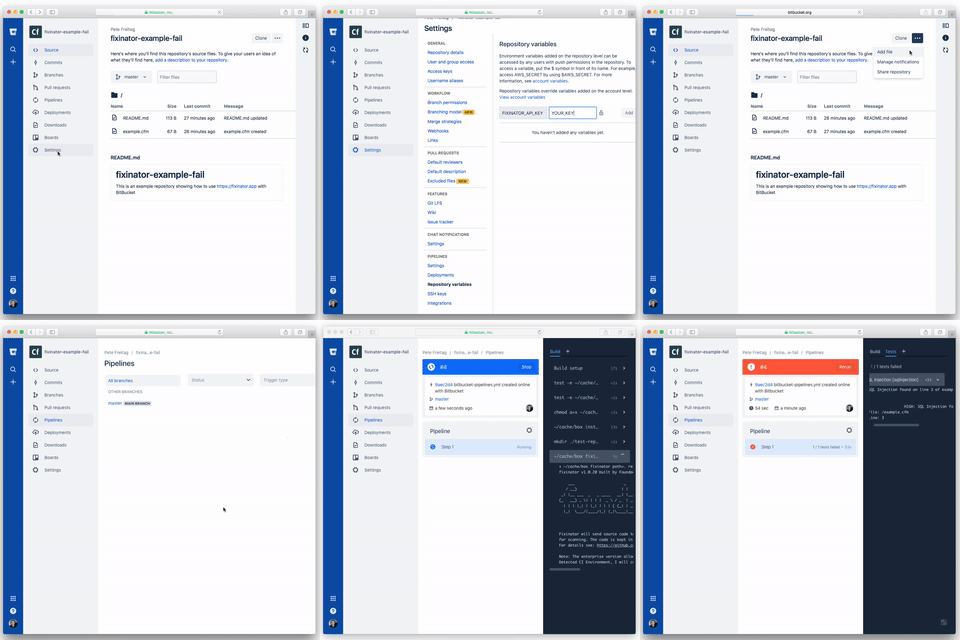
Here is an example repository, and an example pipeline result.
You may have noticed that the script makes use of pipeline caching, this will speed up your build time quite a bit, it will store a copy of commandbox in the cache so it doesn't need to initialize every time. You may occasionally want to delete the cache if the version of commandbox becomes out of date.
