This project is the API backend for a file-sharing application. It has the following features:
- Login/registration for users (via Hasura Auth APIs)
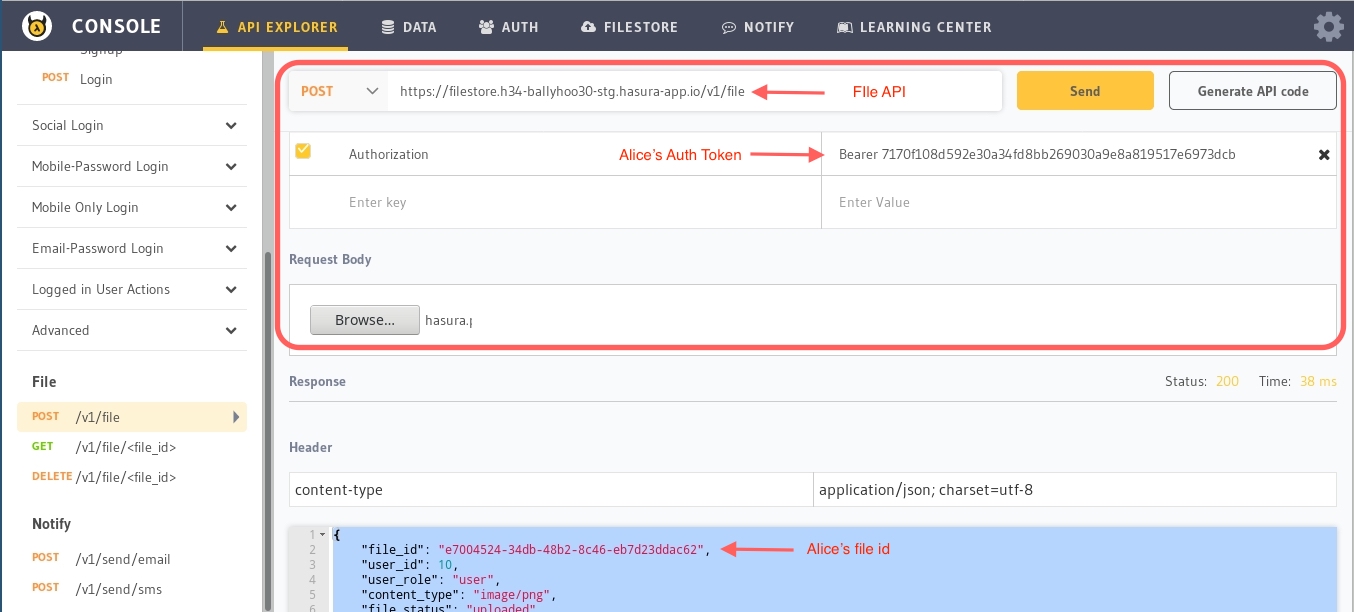
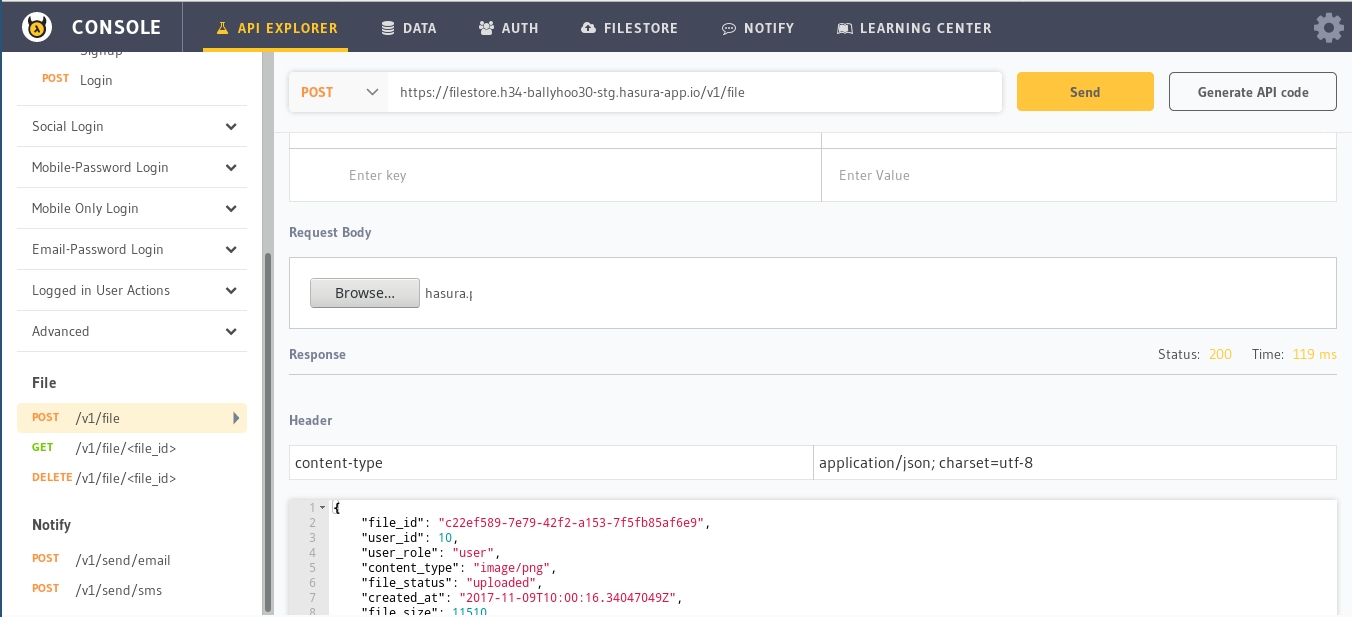
- Upload/Download files (via Hasura Filestore APIs)
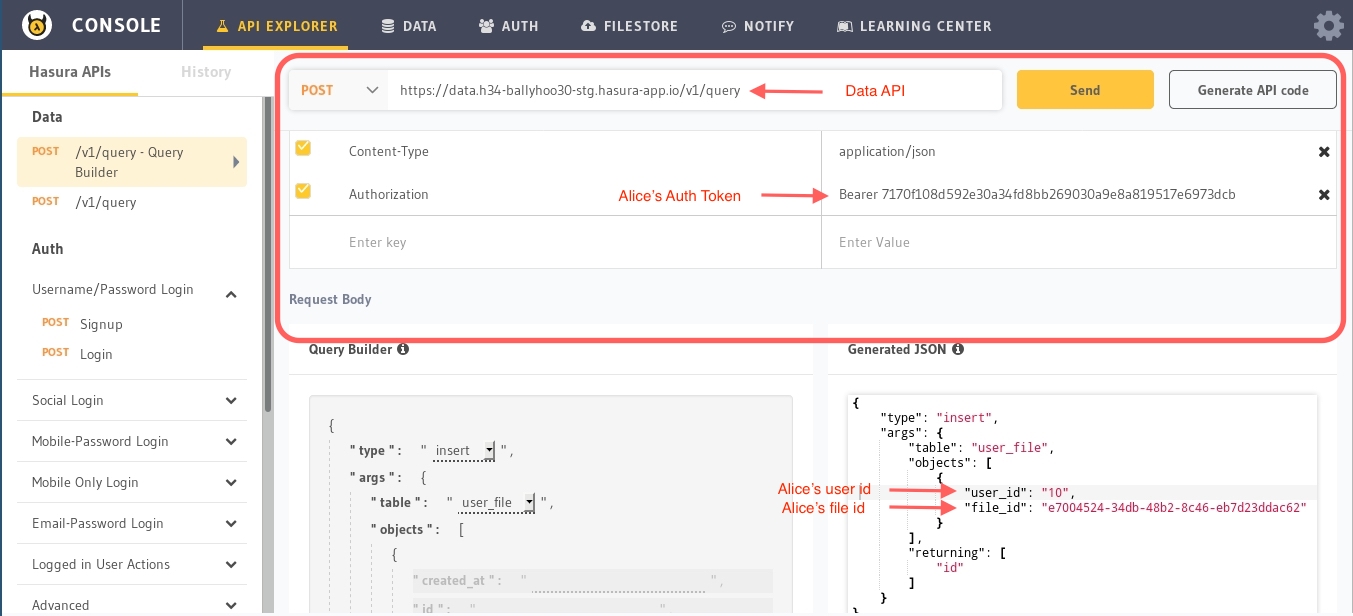
- File sharing (modelled as tables in the database, APIs via Hasura Data APIs)
Here are the 2 steps to deploy this application on your own Hasura free cluster. Before you begin, ensure you have the latest version of hasura CLI tool installed.
$ hasura quickstart karthik/file-sharing-app
$ cd file-sharing-app
The above command does the following:
- Creates a new folder in the current working directory called
file-sharing-app - Creates a new trial hasura cluster for you and sets that cluster as the default cluster for this project
- Initializes
file-sharing-appas a git repository and adds the necessary git remotes.
$ git add .
$ git commit -m "Initial Commit"
$ git push hasura masterThis Hasura project contains the following:
migrations/: This contains the schema of the data model for file sharing
- 3 tables:
user,user_fileandfile_share
microservices/file-check: A nodejs microservice which implements a permissions webhook APIconf/filestore.yaml: Configure hasura filestore APIs to use a custom permission webhook
More details about how this application works are available in the last section of this README.
To test and browse the APIs that are deployed, open up the api-console:
$ hasura api-consoleThis will open up the API console on http://localhost:9695 and will allow you to start testing your APIs.
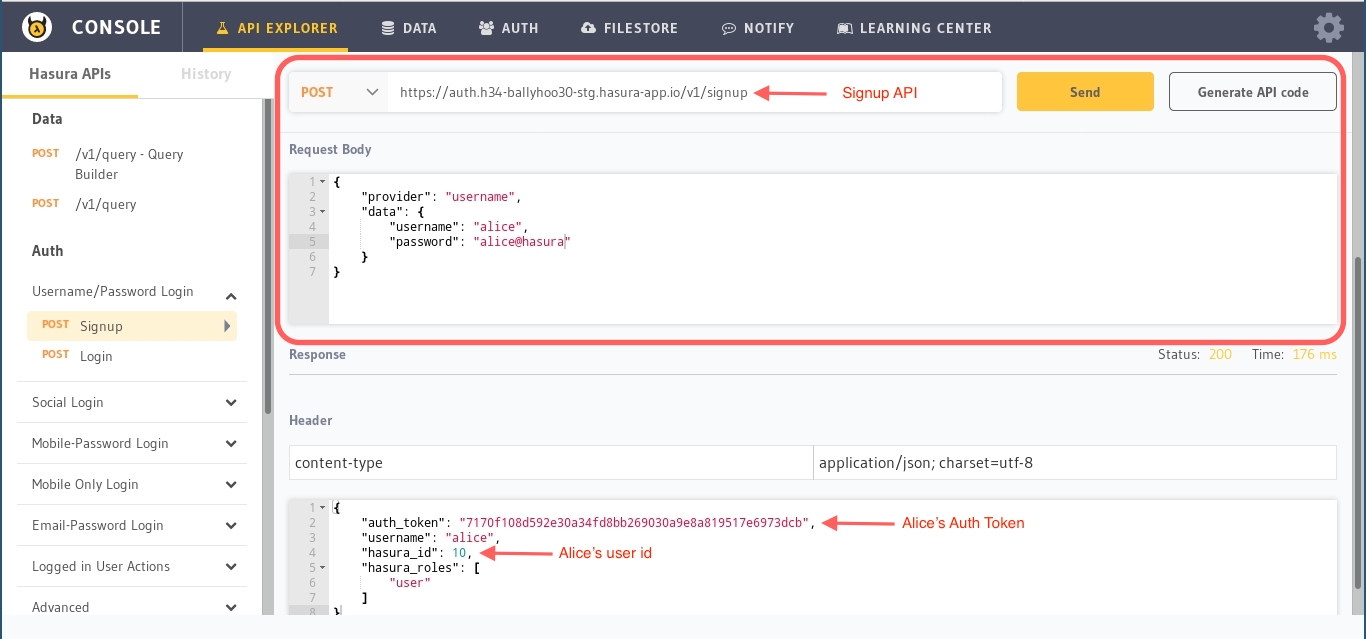
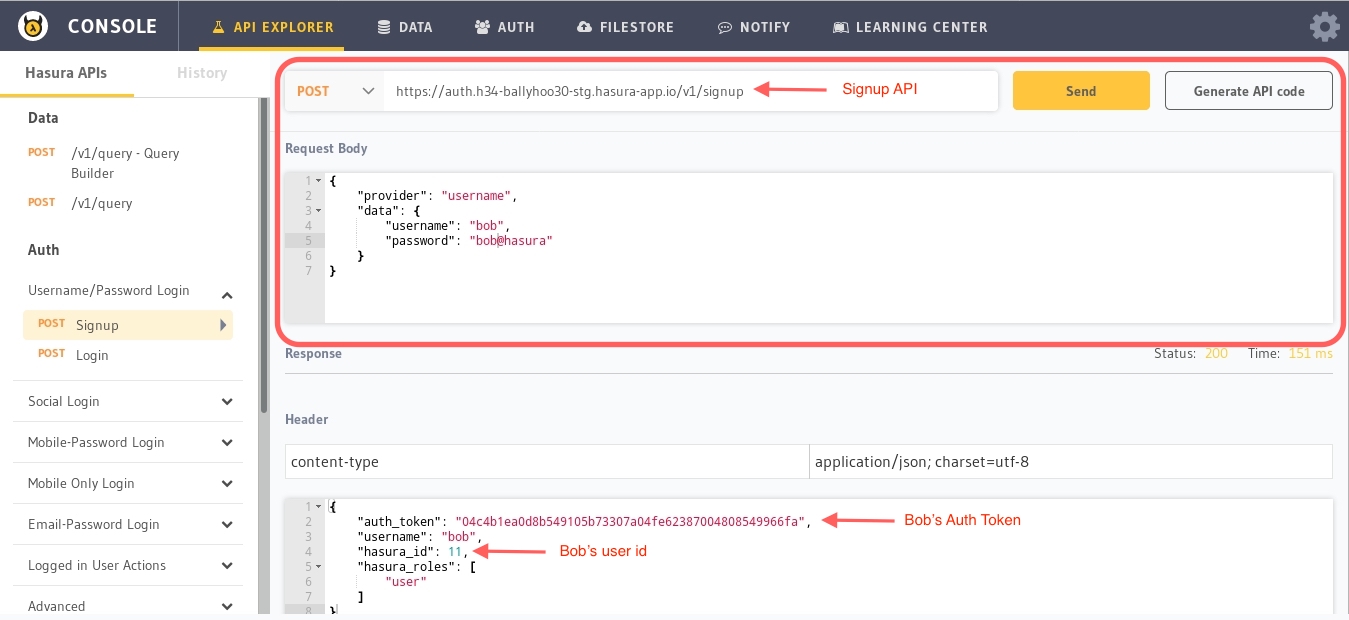
On the API console, head to the API explorer. On the sidebar, choose the Auth > Username/password login > Signup API and create 2 users using the Hasura Auth APIs.
Let's say the first username is alice and the second is bob.
Note that each successful registration request (using the basic username/password provider) will return an authorization token, and user_id that identifies the particular user in subsequent API requests.
Track the file uploaded by alice and the fact that she has shared it with bob
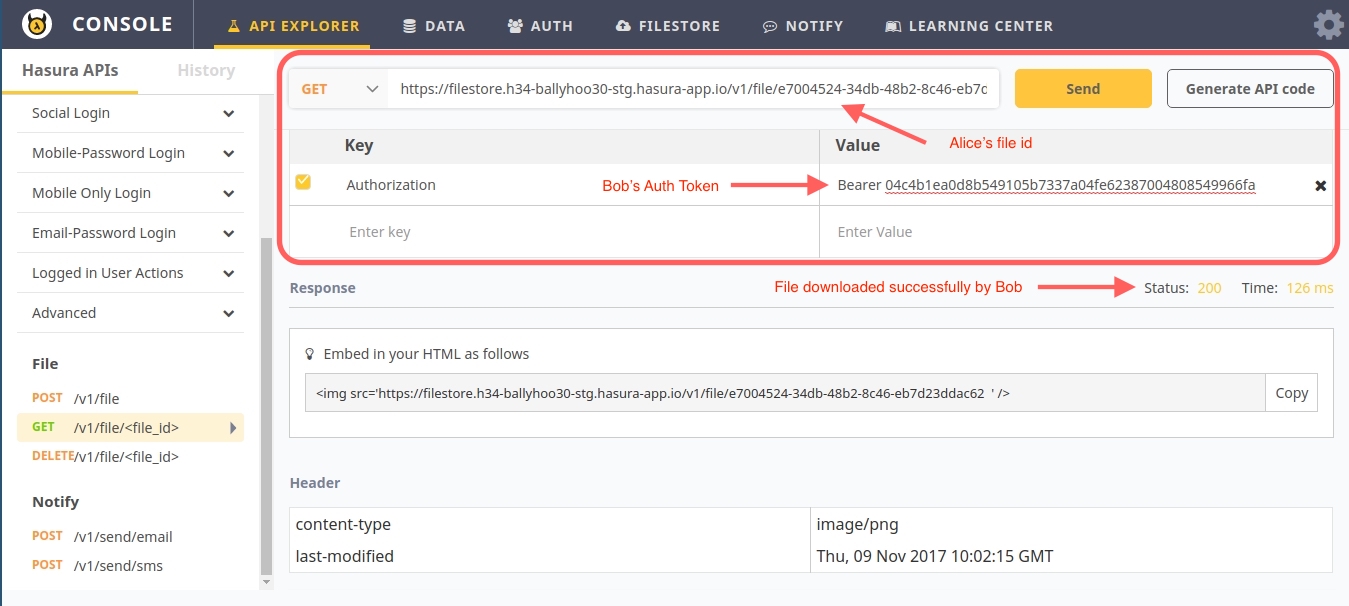
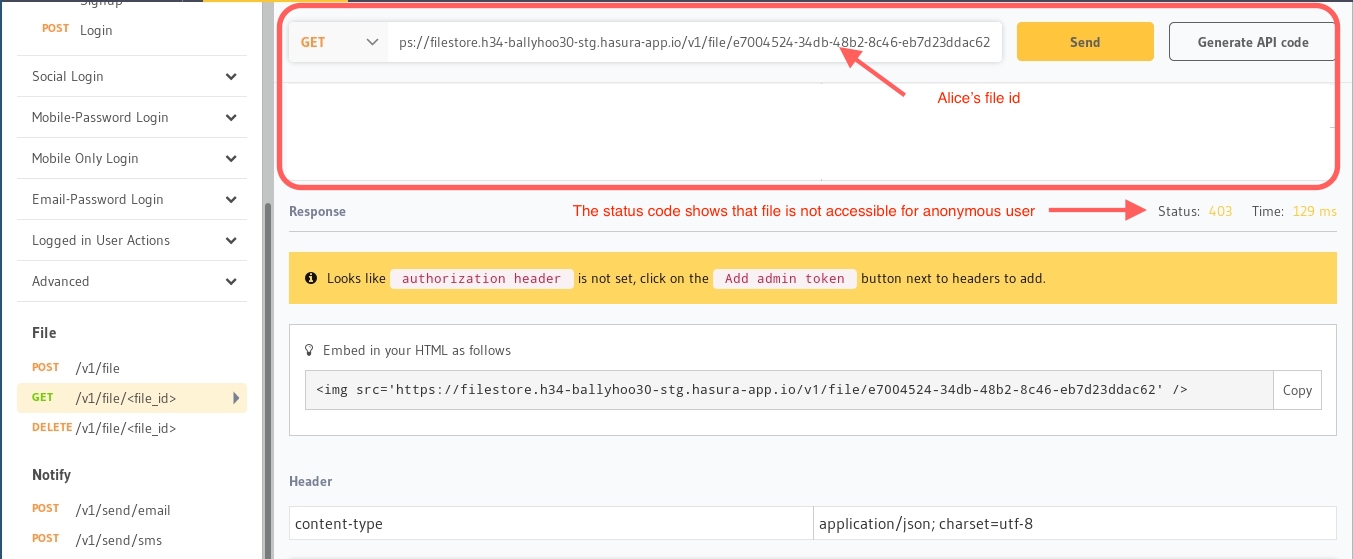
Apart from the Hasura auth APIs and the data APIs, the key in making the file sharing permissions work is the webhook that allow secure sharing.
By default the Hasura filestore APIs allow private only, or public permissions. To customise these settings, a permission webhook is used.
When a file download API request is made, the filestore APIs call the hook and determine if the file download should be allowed.
Here is the code in server.js:
app.get('/check_req', function( req, res ) {
  if ( req.query.file_op === 'read' ) {
    const file_id = req.query.file_id;
    const user_id = req.headers['x-hasura-user-id'];

    // Use the data APIs to check if the user requesting the file is one of the shared_users for this file
    const queryObj = {
      type: 'select',
      args: {
        table: 'user_file',
        columns: ['id'],
        where: { 'file_id': file_id,
          '$or': [
            {'user_id': parseInt(user_id, 10)},
            {'shared_users': { 'shared_user_id': parseInt(user_id, 10)}}
          ]
        }
      }
    };

    // Make this API call to the database and get the resultant 'rows'
    //...

    // Check the response and allow or disallow
    if ( rows.length > 0 ) {
        res.status(200).send('ok');
        return;
      }
      res.status(403).send('notok');
      return;
Now that we have this webhook deployed in a microservice called file-check, we configure the filestore API to use this webhook in conf/filestore.yaml:
hookUrl: http://file-check.default/check_req