Unchain the power of AI in your Filament Panel! With this plugin you can easily let AI write all your content.
You need Filament v3, a valid license and an OpenAI API Token.
To install the package via composer you need to add the private repository to your composer.json.
"repositories": [
    {
        "type": "composer",
        "url": "https://filament-plugin-ai-writer.composer.sh"
    }
]
Now you are ready to install the package:
composer require mvenghaus/filament-plugin-ai-writer:"^3.0"You will be asked for a username and password. Use your order email address as username and the license key you received as password.
Register the plugin in panel provider:
use Mvenghaus\FilamentPluginAIWriter\FilamentPlugin;
use Mvenghaus\FilamentPluginAIWriter\Integrations\OpenAI\OpenAI;
use Mvenghaus\FilamentPluginAIWriter\Integrations\OpenAI\Models\Gpt4;

...

class AdminPanelProvider extends PanelProvider
{
    public function panel(Panel $panel): Panel
    {
        return $panel
            ...
            ->plugin(
                FilamentPlugin::make(
                    // create the Open AI Integration
                    OpenAI::make(
                        'YOUR_TOKEN',
                        // choose the model you want to use
                        Gpt4::make(
                            maxTokens: 100 // optional
                        )
                    )
                )
            )
        }
    }

...You are free to store the token wherever you want. But if you only have one global token it's a good practice to store it in .env and resolving it using the services config.
OPENAI_TOKEN="MY_TOKEN"
<?php

return [
    ...
    'openai' => [
        'token' => env('OPENAI_TOKEN')
    ]
];OpenAI::make(config('services.openai.token'), ...);To limit your costs you can use the maxTokens option.
- Mvenghaus\FilamentPluginAIWriter\Integrations\OpenAI\Models\Gpt35Turbo
- Mvenghaus\FilamentPluginAiWriter\Integrations\OpenAI\Models\Gpt4
Basically the integration is "just" a button, but a very powerful one.
The principle is always structured as follows:
************       ************       ************
*  SOURCE  *  -->  *  MODIFY  *  -->  *  TARGET  *
************       ************       ************
<?php

use Mvenghaus\FilamentPluginAIWriter\Forms\Components\AIWriterButton;

...

    public static function form(Form $form): Form
    {
        return $form
            ->schema([
                AIWriterButton::make('name')
                    ->label(...) // optional
                    ->source(...)
                    ->sourceModal(...) // optional
                    ->modify(...) // optional
                    ->target(...)
...The source accpets a Closure and defines the request text that is send to the AI integration. The Closure is evaluated like everything in Filament so you can use "Get", "Set", etc..
->source(fn() => 'Tell me a joke about PHP')->source(fn(Get $get) => $get('source_field'))Maybe you just want to generate a text on the fly without having any source text or field. There comes the "sourceModal" method in handy.
->sourceModal()With this you get a modal with a textarea where you can enter your request text.
You can also combine it with the "source" method to get a prefilled modal form.
->source(fn() => 'Prefilled Text')
->sourceModal()
Modify also accepts a Closure as parameter. Here you have the possibility to manipulate the request text before it is send to the integration.
You get string $sourceText as param in your Closure.
This is for example useful when you want to work with placeholders in your request text.
Let's assume you have a form with a title and want to write a text with a predefined specification:
->source(fn() => 'Write a text about "#title#" in 10 words')
->sourceModal()
->modify(
    fn(Get $get, string $sourceText) => str_replace('#title#', $get('title'), $sourceText)
)At last there is the target. Here you decide what you want to do with the generated text. Here you also work with a Closure. As Closure parameter you get a response data object.
/** @var \Mvenghaus\FilamentPluginAIWriter\Data\Response $reponse */
$response->text // string - the generated text
$response->information // array - additional information from the integration response
Writing the text to a field would look like this:
->source(fn(Get $get) => $get('source_field'))
->target(fn(Set $set, Response $response) => $set('target_field', $response->text))With this flexible structure you can do a lot of awesome things. Let's dive into some examples.
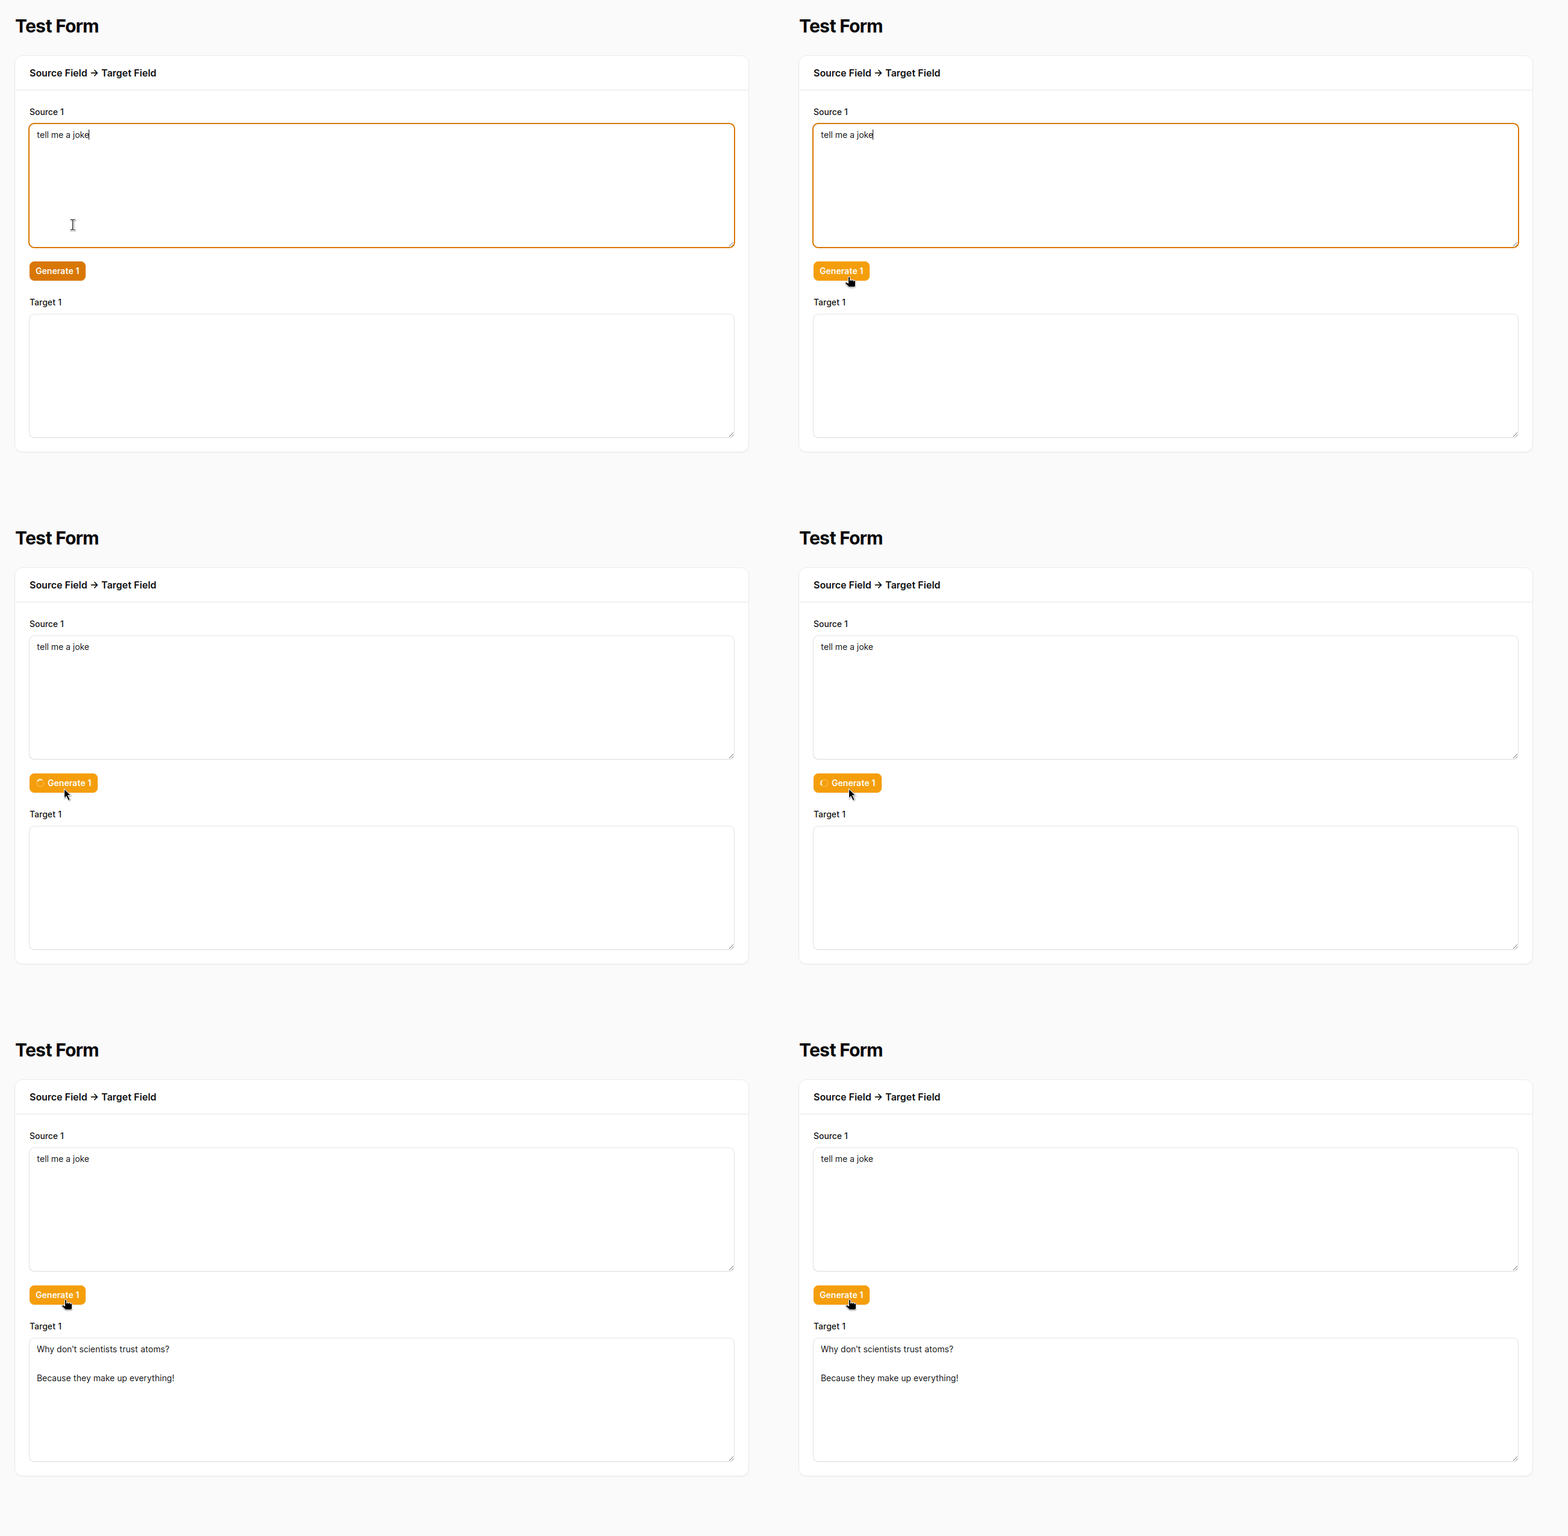
Code
AIWriterButton::make('generate')
    ->source(fn(Get $get) => $get('source_field'))
    ->target(fn(Set $set, Response $response) => $set('target_field', $response->text))
Demo
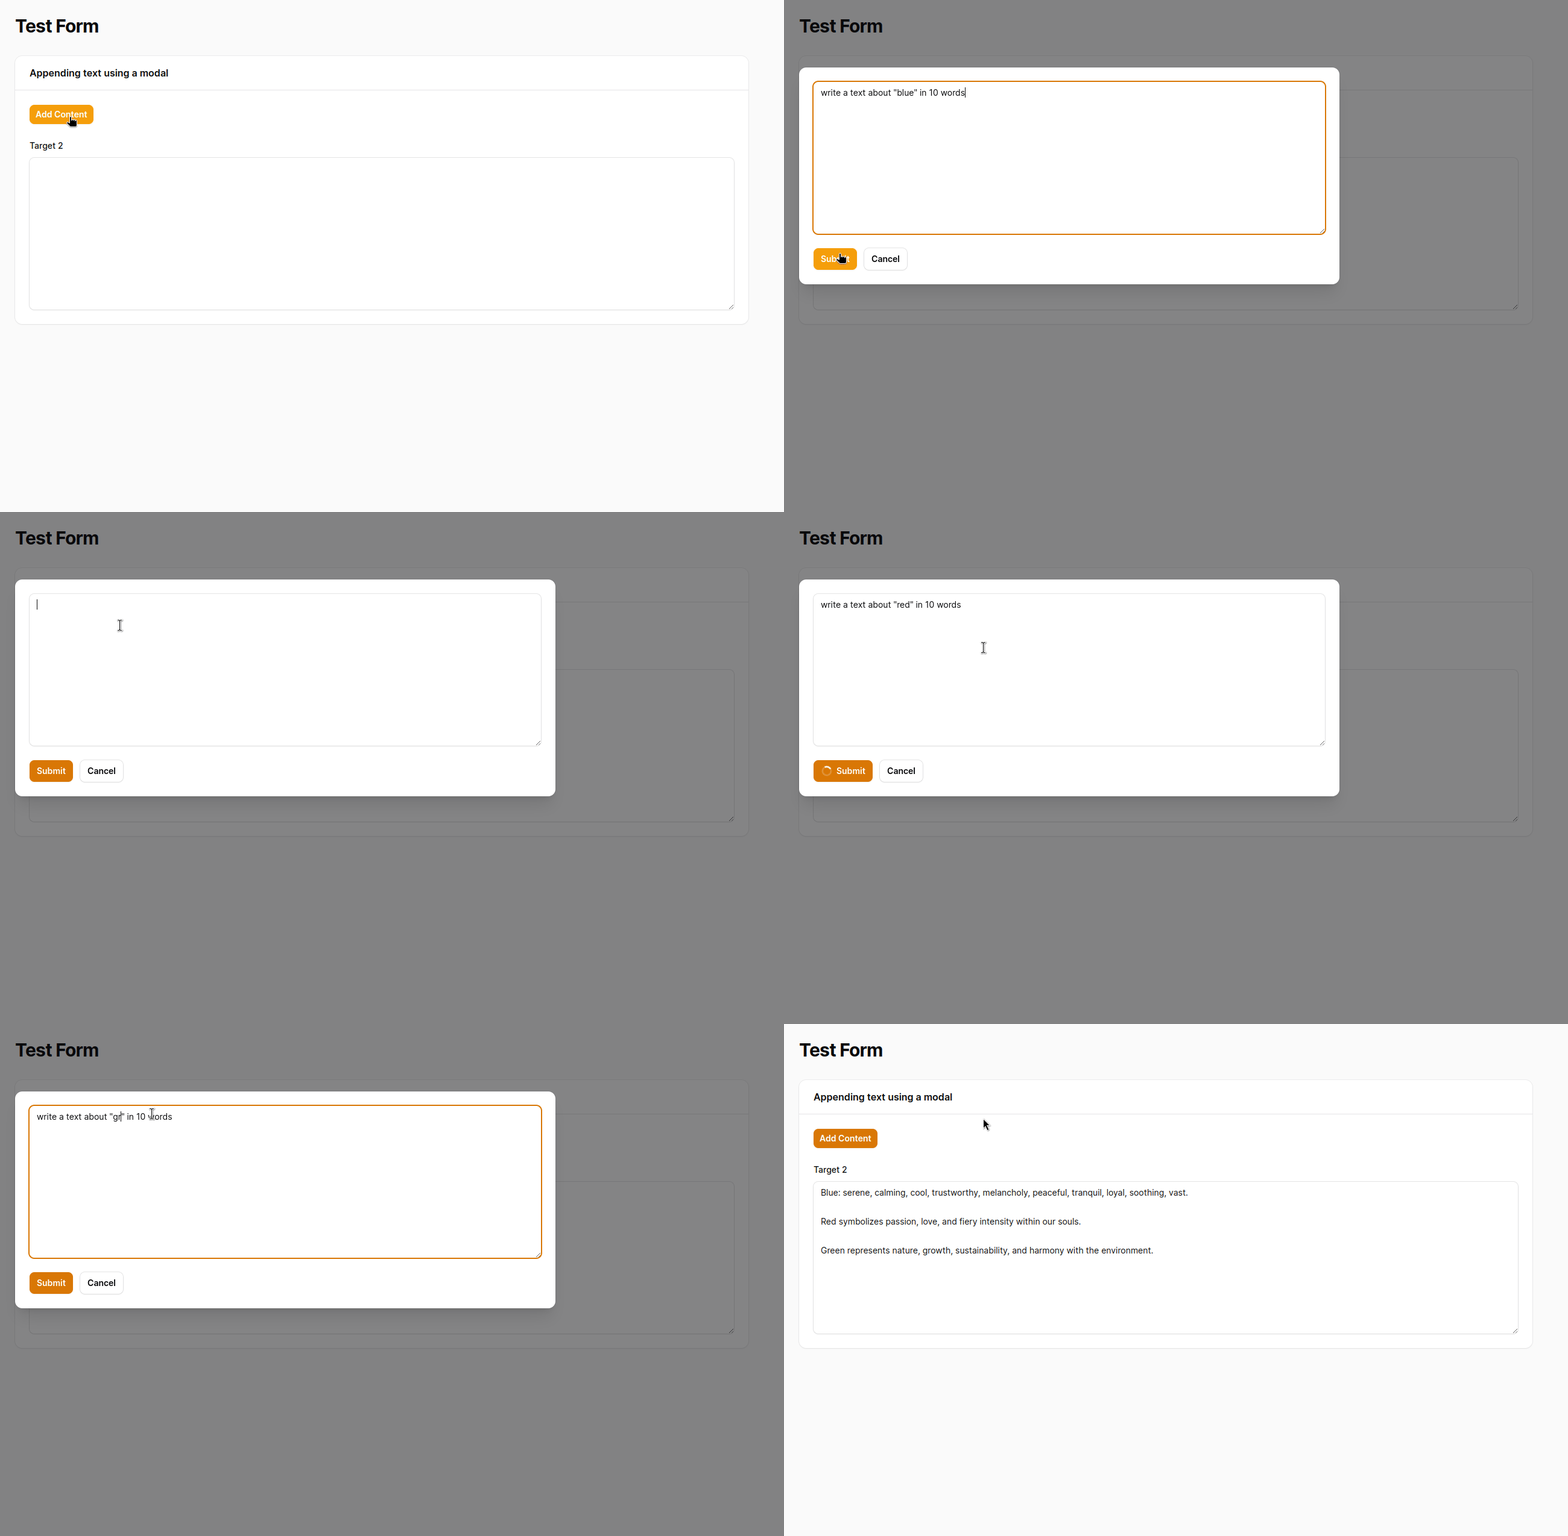
Code
AIWriterButton::make('generate')
    ->label('Add Content')
    ->sourceModal()
    ->target(function(Get $get, Set $set, Response $response) {
        $set(
            'target_field',
            trim(sprintf("%s\n\n%s", $get('target_field'), $response->text))
        );
    }),
Demo
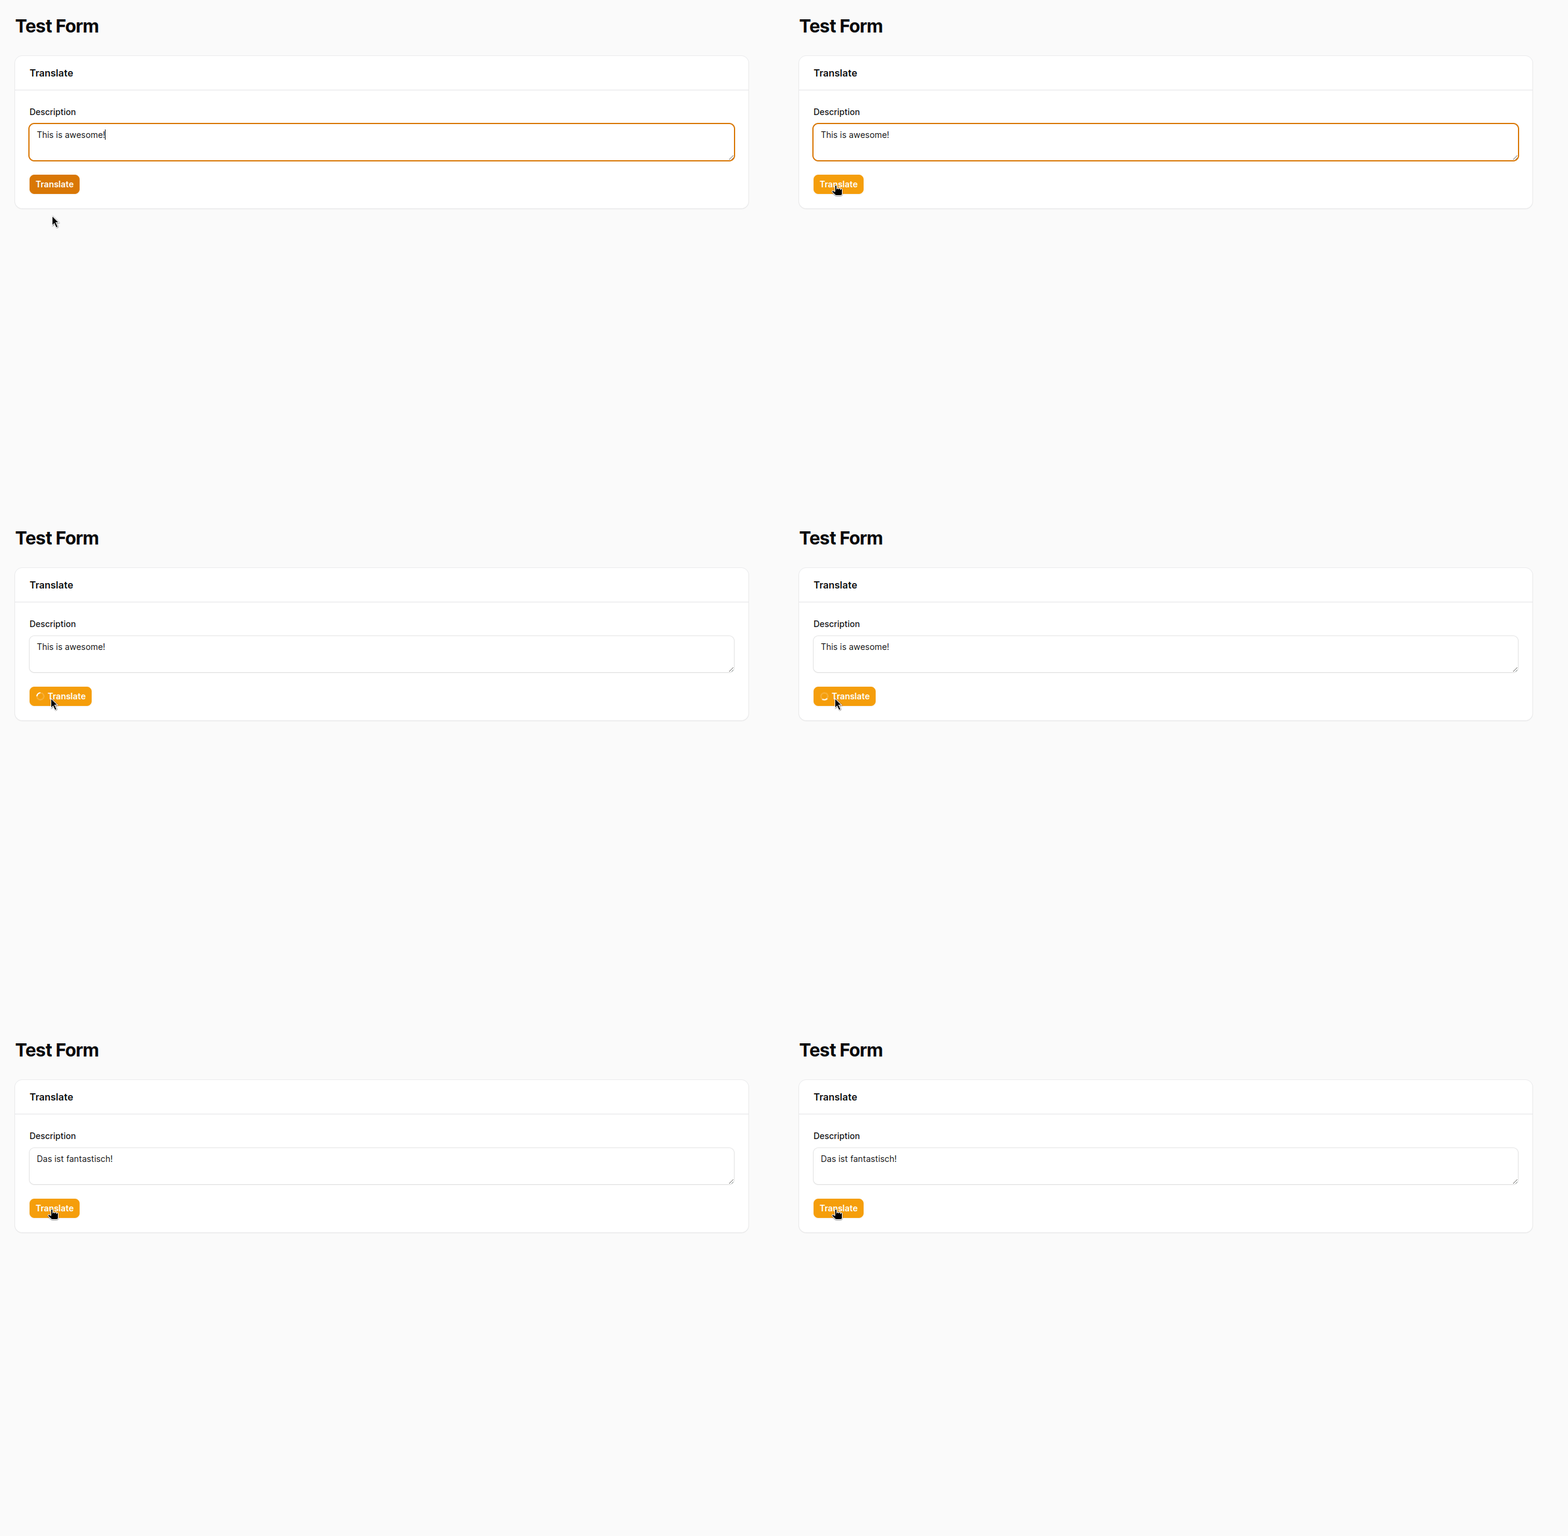
Code
AIWriterButton::make('translate')
    ->source(fn(Get $get) => 'translate in german: '. $get('description')))
    ->target(fn(Set $set, Response $response) => $set('description', $response->text))
Demo
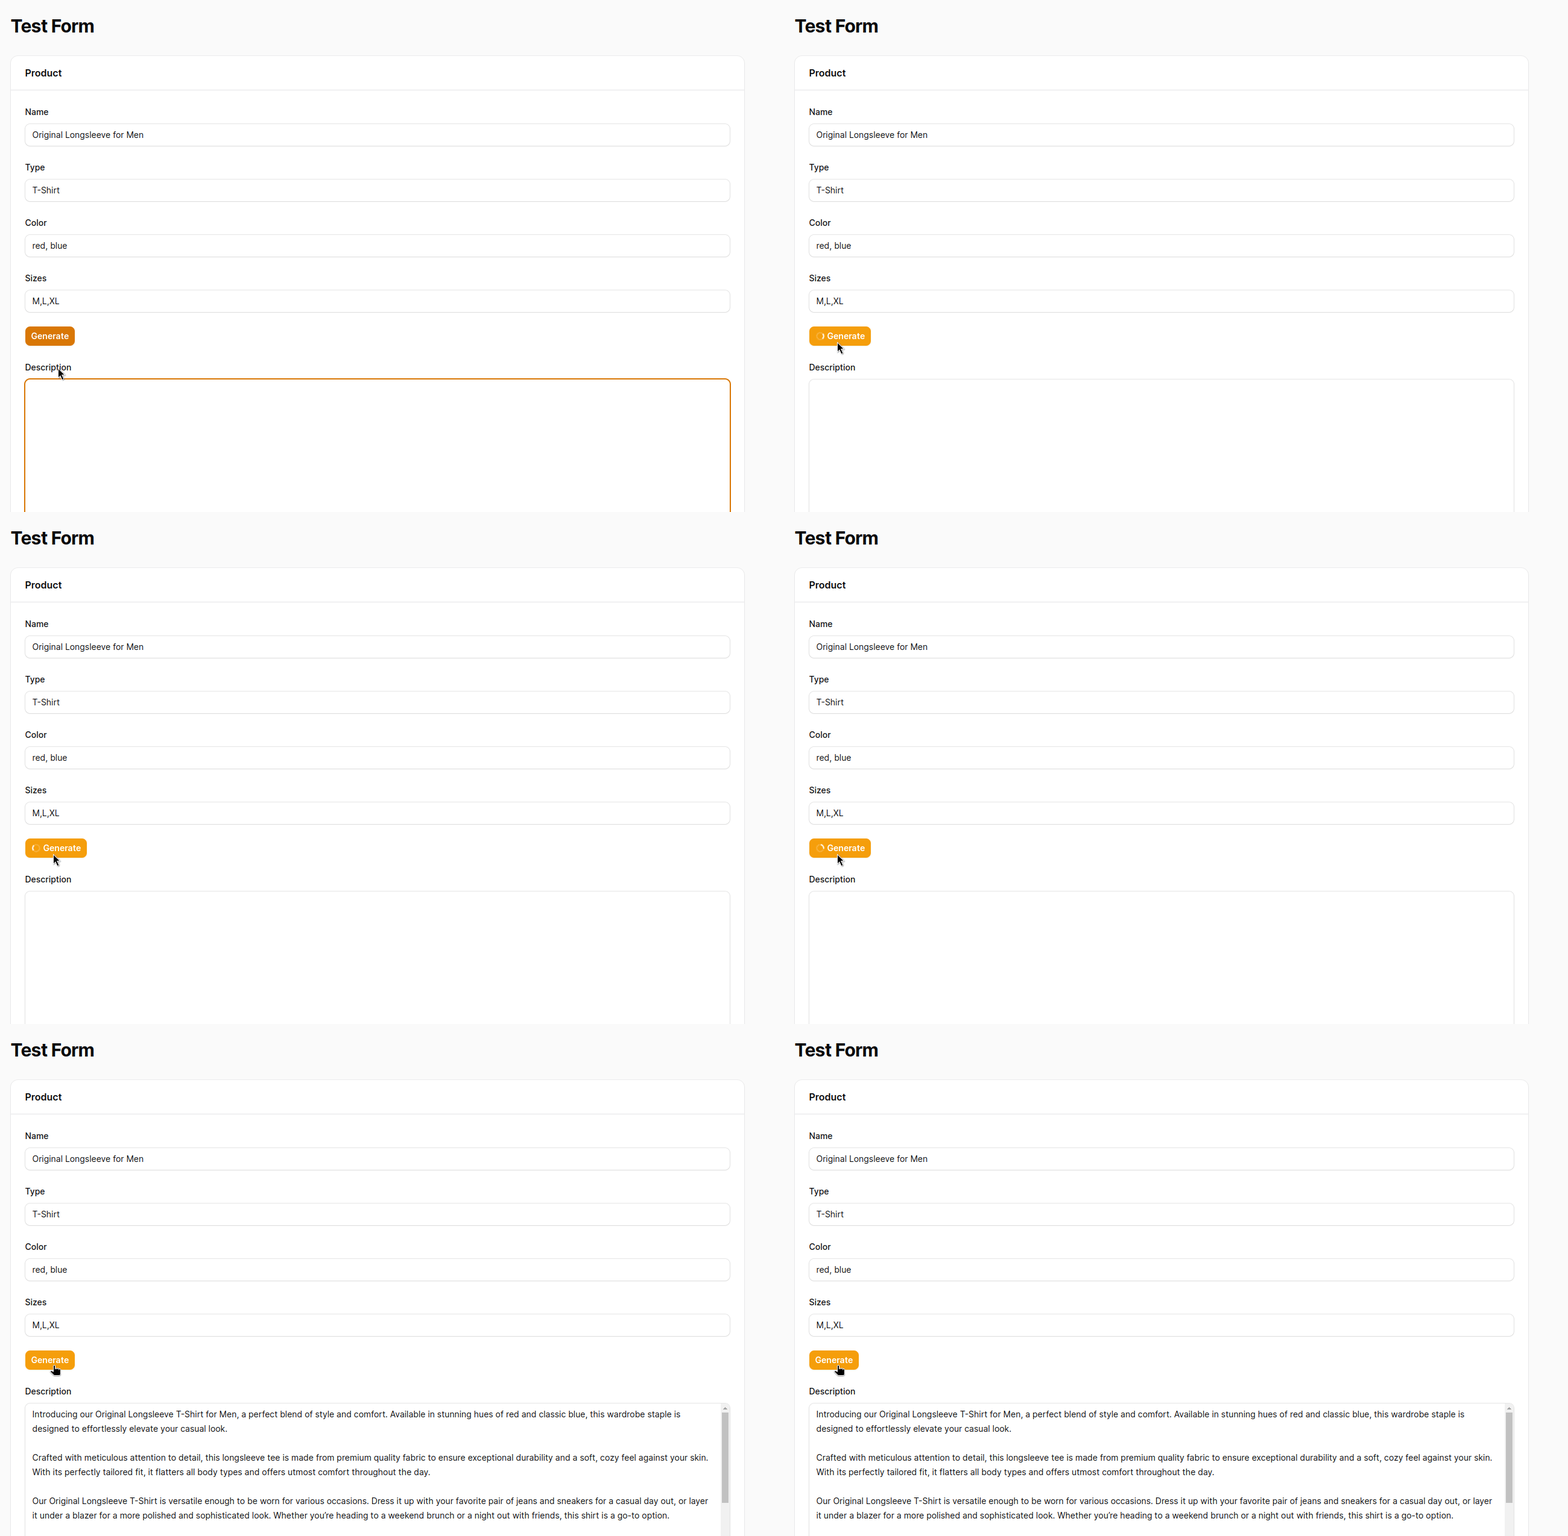
Code
AIWriterButton::make('generate')
    ->source(function(Get $get) {
        return implode("\n", [
            'write a product description:',
            'Name: ' . $get('name'),
            'Type: ' . $get('type'),
            'Color: ' . $get('color'),
            'Sizes: ' . $get('sizes'),
        ]);
    })
    ->target(fn(Set $set, Response $response) => $set('description', $response->text)),
Demo
You can also use the integration without the form component.
<?php

use Mvenghaus\FilamentPluginAIWriter\Integrations\OpenAI;
use Mvenghaus\FilamentPluginAIWriter\Integrations\OpenAI\Models\Gpt4;

$integration = OpenAI::make('YOUR_TOKEN', Gpt4::make());

$response = $integration->request('Tell me a joke');

echo $response->text;Currently only Open AI is supported. But you can easily write your own integration. To achive this you simply have to implement the "Integration" contract.
<?php

use Mvenghaus\FilamentPluginAIWriter\Contracts\Integration;
use Mvenghaus\FilamentPluginAIWriter\Data\Response;

class MyIntegration implements Integration
{
    public function request(string $text): Response
    {
        // call your ai provider
        $result = (...);

        return new Response(
            content: $result
        );
    }
}
And then pass your Integration in the admin panel provider:
use Mvenghaus\FilamentPluginAIWriter\FilamentPlugin;

...

class AdminPanelProvider extends PanelProvider
{
    public function panel(Panel $panel): Panel
    {
        return $panel
            ...
            ->plugin(
                FilamentPlugin::make(new MyIntegration())
            )
        }
    }

...If you any questions or you find a bug, please let me now at Github or reach out on Discord.


