-
Notifications
You must be signed in to change notification settings - Fork 39
Frontend using WinForms
If you open recruitment sites, you will see most posts usually falling under 3 categories:
- Backend
- Frontend
- Fullstack
The 3 categories refer to what you will be focusing on as a programmer.
Backend- puts a heavy focus on business logic, often without changing how things look. Console application is also considered fully backend- because you don't care how do things look like- you just dump output to the console.
Frontend- is the opposite. Your focus is to make user experience good, applications easy to use, accessible. You will try to make things pretty and cool. It has another name- UI.
Fullstack- you will do it all. There is a nice balance between both back and front ends.
Client is the end a user will interact with. Other than its visuals, we need to figure out how to call the other end- backend, how to translate backend calls back and forth. All that involves in making a client side is a responsibility of a full stack developer.
Client often changes, but should that affect all the code behind we tried to carefully piece together? Of course not! Therefore, looks should not impact how code behind it works.
A layer in programming can have different forms. In .NET, it is usually a project. Therefore, it is usually a good idea to seperate presentation from business logic.
Historically, the first 2 layers was called 2-tier application. Though it is not the same as the 2 layers I am referring to. 2-tier = client + database. 2 layers is backend and frontend separation.
Let's try to go through a typical flow of implementing 2 layer application and thus separating client and logic ends.
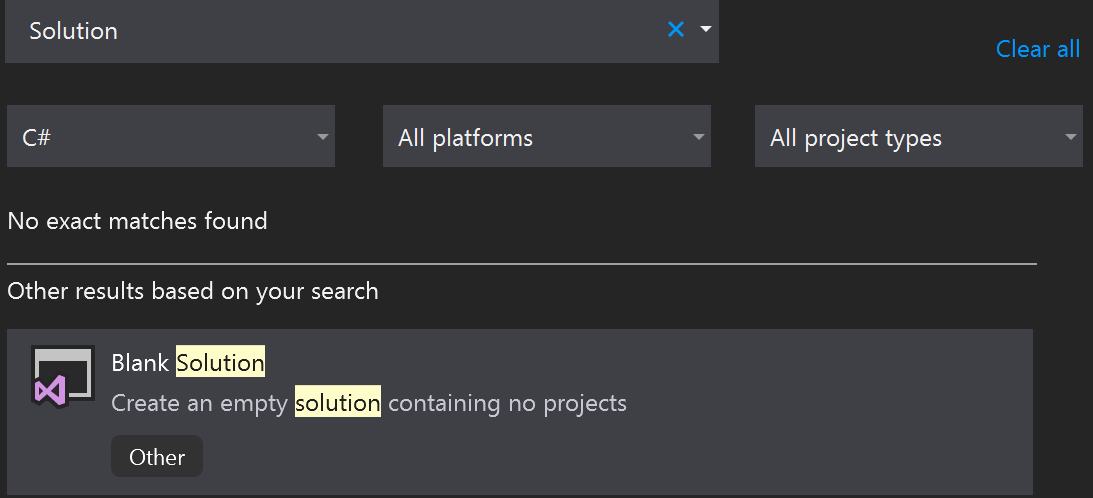
Create an empty solution. In a new project window, type Solution and select the option that says Blank Solution. Call it after your application name, for example RecipeConverter.
You should strive to solve the problem first and visualize the solution next. Unless you have strict requirements on how visual part should look like- do not start from it.
The best kind of pure backend project is a class library. Class libraries are supposed to be containers of logic, without any visual parts in it. Therefore, you cannot run a class library project- the idea is to call it from an executable project type.
In .NET, you now have 4 options when it comes to choosing a project type:
- .NET Framework - old, windows-only
- .NET - latest, multiplatform
- .NET Core- previous, multiplatform
- .NET Standard- all is built on this, works mostly with everything (post 4.6.1 .NET).
If you don't have any platform-specific needs, use .NET Standard for your business logic implementation. That is exactly what we will be choosing.
Right click on the solution, select "add.." -> "new project".

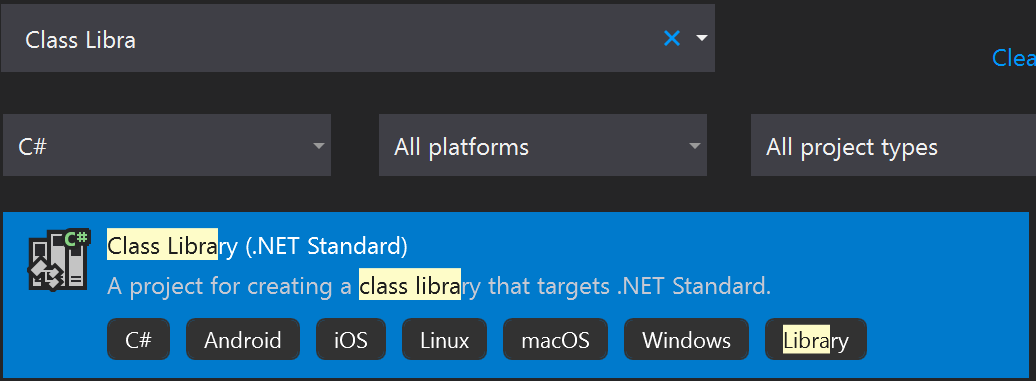
Type Class Library. And Name the project after your solution name suffixing it with .App (stands for application logic).
If you are making some executable, consider to always split the presentation from logic. Though console application is considered to be not frontend related, it still is the most simple client, because it does visualize something.
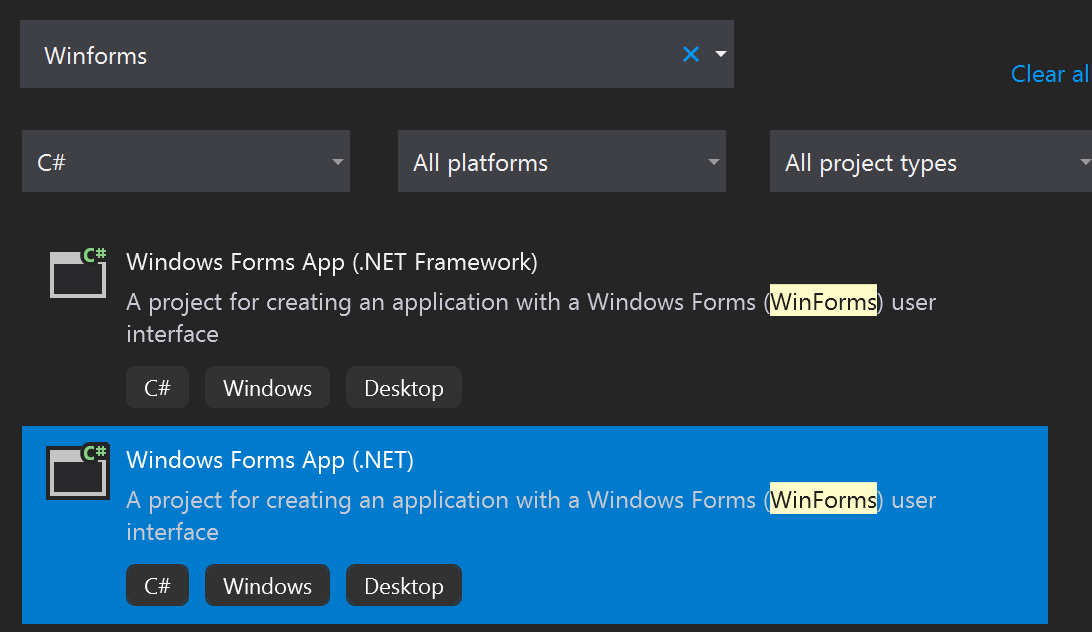
What visualization you add is up to you. This lesson is about winforms, so we will add winforms project.
Name the proejct after your solution name suffixing it with .Client.
The setup we want to make is that the client project refer to the application project.
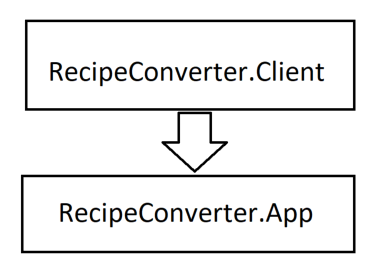
In .NET, in order to consume logic from another project we need to add a reference to that project.
Expand RecipeConverter.Client project, right click on "Dependencies" and select "Add Project Reference" from the list select RecipeConverter.App project.

This might seem a lot of work. However, by spending just several minutes we separated visual part from logical. It is great to be a in a habbit of not relying on one from the other, until you really need that, because it gives you room for making choices of what integrates how.
Would you like to convert winforms client into a console? Maybe there is a need for a website? Maybe you need all 3? All of it is fine now- because the core application is still the same and the only thing you will need to figure out how to visualize things, rather than how to rewrite the business logic so that it works in other environments. Business logic will not change, presentation can change and such design is based on that assumption. It's okay for business logic changes to impact the visuals, but not the other way round.
Separation in projects design prevents you from making mistakes where you forget yourself and accidentally use pieces of console or WinForms or other UI(user interface)-specific thing when all you really do is process something. If you want to visualize something that you calcualte, don't embed it in a function. Keep the frontend stupid- use backend output as-is and just assign it in the right place.
All in this paragraph will be solely on winforms. It is okay not to know these things as this is the only time we will be covering it.
Winforms in general are mostly used for internal tooling, made repidly just for developer's convenience. You will not be able to make off-the-shelf kind-of applications using winforms, because they simply rely too much on Windows OS and is not designed for anything else. That said, it's good for introducing concepts, for learning purposes and therefore was our pick to get started with client side.
Winforms template introduces just 2 files:
-
Forms1.cs- visual window -
Program.cs- bootstrap the first window
Form is a window. For every new window in your applciation you will have to create a new form.
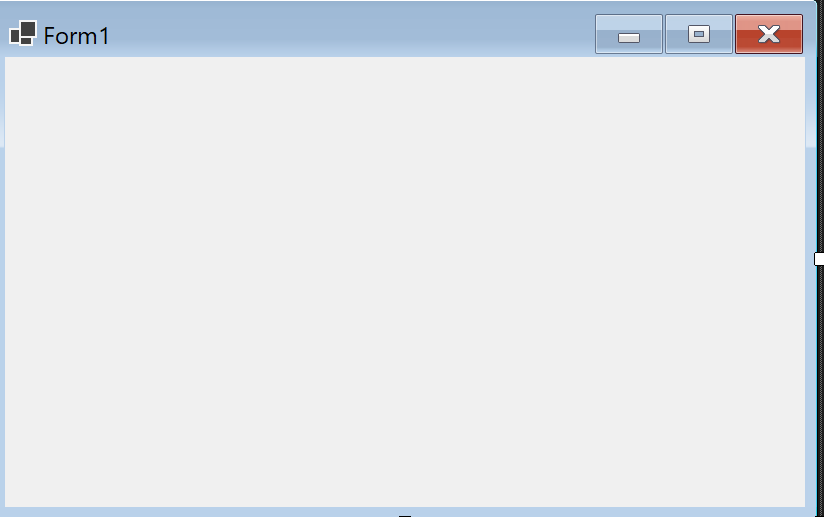
By default, opening a form should reveal a toolbox, however if it doesn't, go to "View" and select "Toolbox". It will open the Toolbox window which I recommend that you pin.
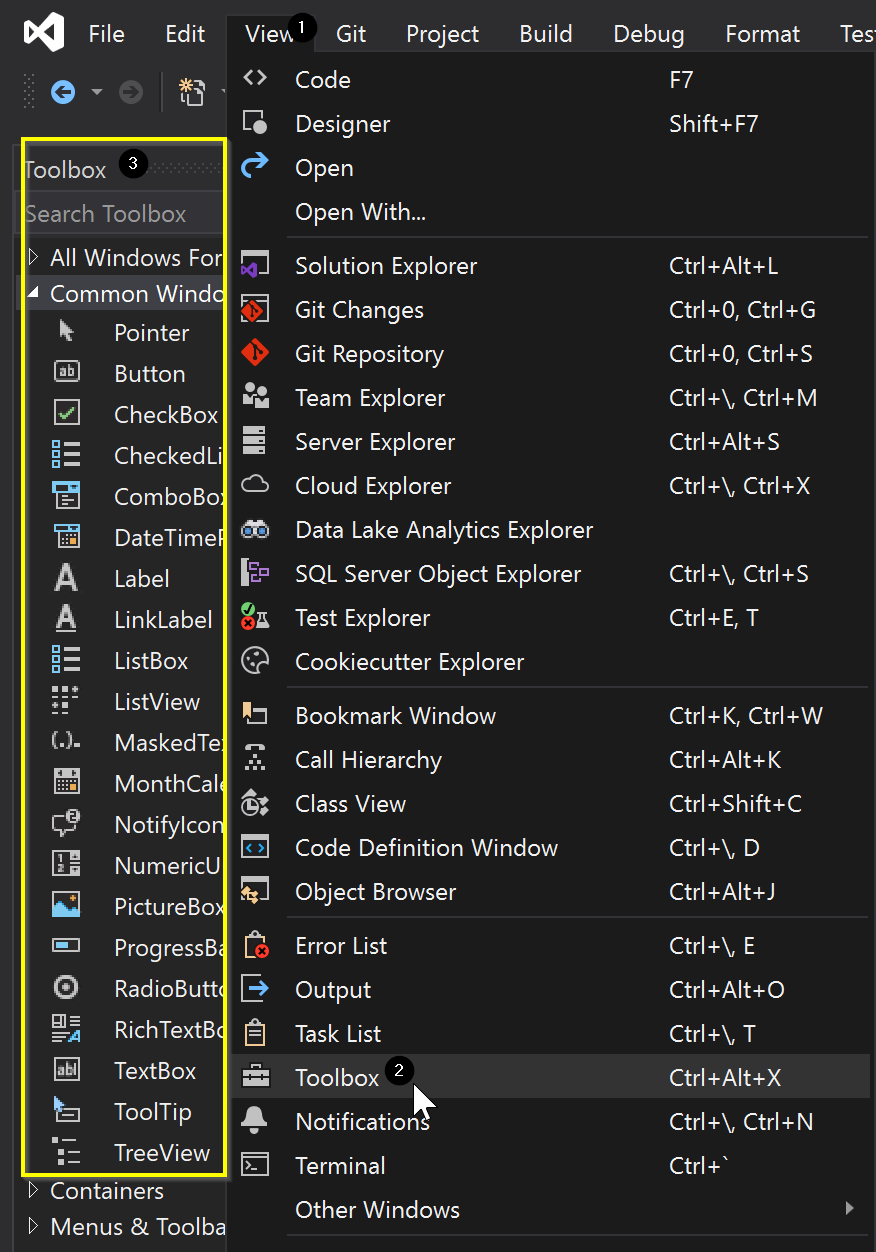
Expand Common Winforms Control because that's what we will be using.
From here, you can drag and drop control onto the form. Individual element can be resized, but if you would like to change other properties, you will need to open the properties window.
A control is a visual element in a form. It is a class which has certain traits for user interaction or visual representation.
Is the most basic one- used for editing text. Usually meant just for a single or a few words.

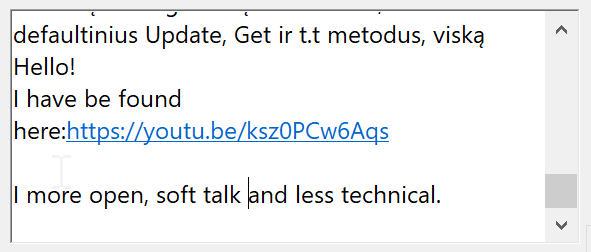
Like TextBox, but is resizable and offers to store a full string, supports scrolling. Also keeps the formatting of text which was pasted in it (keeps links, bodling, etc).
Can be clicked and calls an action on click.

Is just text which, unlike TextBox, is not intended for editing.

A group of two or more round buttons which can be toggled on or off. Only one radio button in a group can be toggled on. Toggling one button turns off others.
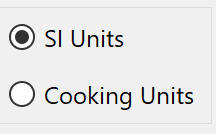
Is one way to group multiple control. Used for shared sizing or related visualization. For example, great for putting multiple RadioButton controls, so that toggling one will de-toggle the others.
In the image above with RadioButtons they are actually place in a GroupBox.
Is a box which has an text section and one option- Ok.
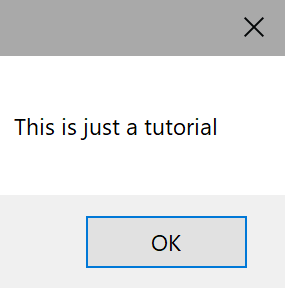
It is very common to read a file from a winform. In order to do it in a Windows-native way, you will need to use OpenFileDialog class. It opens a file browser through which you can pick a file.
For example, in order to read file contents from OpenFileDialog you can:
static string ReadFile()
{
    // Create a browser object (prep for using)
    using (OpenFileDialog openFileDialog = new OpenFileDialog())
    {
        // Show dialog and wait till selection is confirmed
        if (openFileDialog.ShowDialog() == DialogResult.OK)
        {
            // The dialog returns a stream
            var stream = openFileDialog.OpenFile();
            // For meaningful work, it's convenient to convert to a StreamReader
            using (StreamReader reader = new StreamReader(stream))
            {
                // Read the contents of the file
                return reader.ReadToEnd();
            }
        }

    }

    // In case a cancel or close was clicked
    return string.Empty;
}Open Form1.cs file. It will open the WinForms design window. Here, you can drag-and-drop visual elements from the toolbox and create UI without much of know-how.
In order to modify the properties of, let's say a button, right click it. Let's change the name of our button to: "Convert". It's also a good idea to give a meaningful name to the control itself- instead of Button1, let's renamed it to ConvertButton.

There are many properties, one of the more interesting ones is an anchor. It defines how control moves and changes size when the parent window changes its size.
For example, here we defined a control which will expand with the parent moved to the following directions: up, down, left.

Using it is a must if our form can change in size.
Winforms uses events to handle user interaction. For example, if a user click a button, Clicked event is fired. How to handle those events?
Double click a button. It will create an event handler called YourButton_Click(). Inside that method you can write code which will be executed when the button is clicked.
For example:
private void HelpButton_Click(object sender, EventArgs e)
{
    MessageBox.Show("This is just a tutorial");
}
And that's really all you need to know for now in order to get started with Winforms! Enjoy!
WinForms is considered to be a little bit of a legacy thing. It is windows-only, created over 20 years ago. However, if you are not making big things, if you just want to make a quick application for yourself or the team, if you just want to try a new thing out and get an understand of a frontend is- it is great. Winforms is the most simple way of making applications with some client.
If you want to make on-the-shelf kind-of applications, consider other options like: UWP, WPF, Xamarin Forms, MAUI (all of those are in .NET ecosystem).
Take the recipe app done in lesson 4 and finish it implementing what is required in International Recipe Converter problem.
- What is the difference between backend and frontend?
- What does it mean to do fullstack development?
- What is UI?
- Why risks does having both frontend and backend in the same project impose?
- What is Winforms?
- What is an event and how to handle them in Winforms?
- Why do we need an anchor?
- Should you avoid WinForms?
Fundamentals of practical programming
Problem 1: International Recipe ConverterLesson 1: C# Keywords and User Input
Lesson 2: Control Flow, Array and string
Lesson 3: Files, error handling and debugging
Lesson 4: Frontend using WinForms
RESTful Web API and More Fundamentals
Problem 2: Your Online Shopping ListLesson 5: RESTful, objects and JSON
Lesson 6: Code versioning
Lesson 7: OOP
Lesson 8: Understanding WebApi & Dependency Injection
Lesson 9: TDD
Lesson 10: LINQ and Collections
Lesson 11: Entity Framework
Lesson 12: Databases and SQL