-
Notifications
You must be signed in to change notification settings - Fork 1
01. printing
All the 3D files are available here
Beware: None of the STL are oriented in the best printing orientation.
Nothing fancy is required.
I've printed most parts with a 0.2mm layer height (unless otherwise specified), using PLA for all parts except the bearing cover which is printed with flex filament.
A 11 hour print, depending on your settings/printer of course.
Depending on where you want the power jack to be located, pick one of:
https://github.com/reivaxy/iotFeeder/blob/master/hardware/3DFiles/case.stl (power jack on the bottom)
or
https://github.com/reivaxy/iotFeeder/blob/master/hardware/3DFiles/caseLeftSidePowerJack.stl (power jack on the left side)
or
https://github.com/reivaxy/iotFeeder/blob/master/hardware/3DFiles/caseRightSidePowerJack.stl (power jack on the right side)
It's the bigger part to print, and the only one where one little support is required.
It was designed to be printed vertically, with a little support for the bottom of the infra red sensor tray. Since this face is pierced with 4 holes, the support ensures it's printed cleanly enough so that the IR sensor tray is well adjusted when in place.
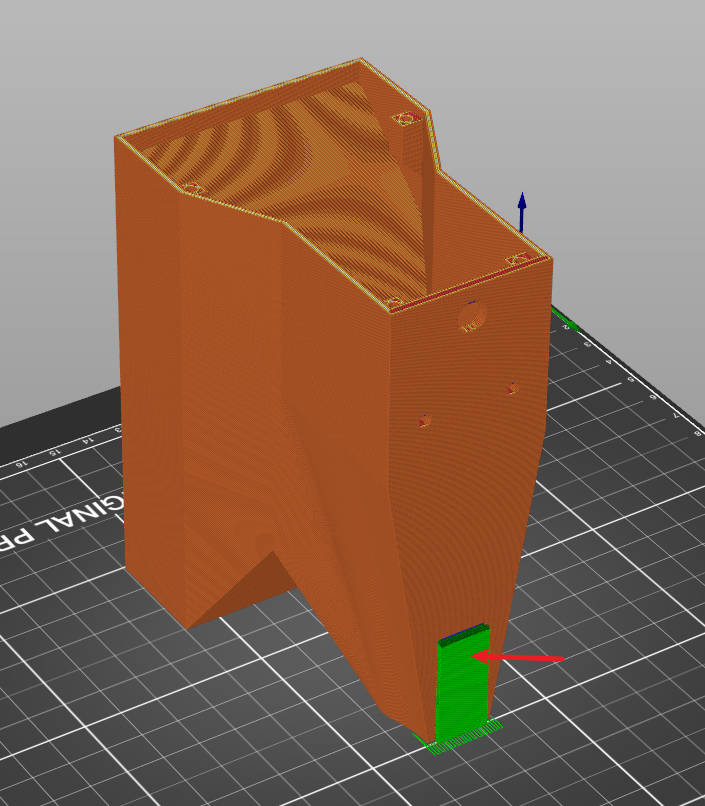
It comes in two variants:
A 15 minute print, at 0.15mm layer height, because you want a little more accuracy than for the other parts.
https://github.com/reivaxy/iotFeeder/blob/master/hardware/3DFiles/IRTray/IRTrayFullTranslucent.stl
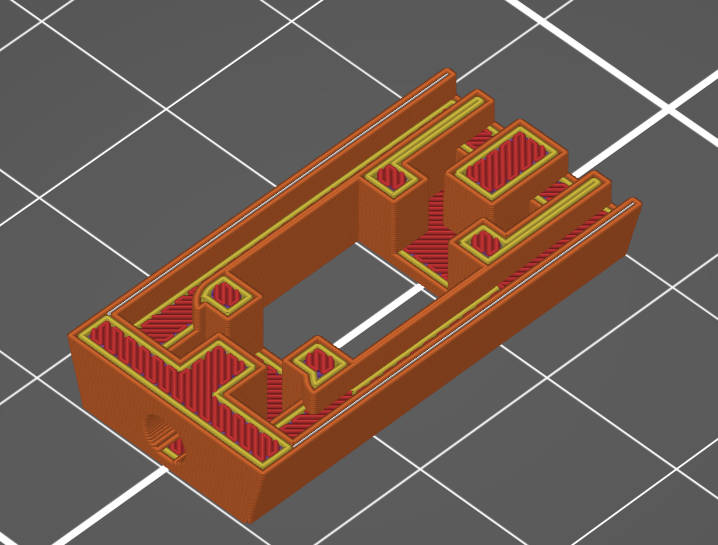
If your printer can do it, you can print with the outer shell the same color as the feeder case, and the inner part transparent, using these two files:
https://github.com/reivaxy/iotFeeder/blob/master/hardware/3DFiles/IRTray/IRTrayInsertTranslucent.stl
https://github.com/reivaxy/iotFeeder/blob/master/hardware/3DFiles/IRTray/IRTrayShell.stl
Printed in two halves, so two prints of 35 minutes each.
It's available in 3 different formats on which the number of rotations over the total length of the thread varries: the narrower the thread, the more precision you get when dispensing small quantities of food.
I have a small tank with only 5 fishes, and the screw9 files are good for me, and I think it's the most versatile version: good precision for medium size servings, and can dispense larger ones by just increasing the number of rotations.
Screw12 might accommodate better really small servings, or may be with different kind of food.
You need to choose on set of:
https://github.com/reivaxy/iotFeeder/blob/master/hardware/3DFiles/screw6.stl
https://github.com/reivaxy/iotFeeder/blob/master/hardware/3DFiles/screw6-1.stl
or
https://github.com/reivaxy/iotFeeder/blob/master/hardware/3DFiles/screw9.stl
https://github.com/reivaxy/iotFeeder/blob/master/hardware/3DFiles/screw9-1.stl
or
https://github.com/reivaxy/iotFeeder/blob/master/hardware/3DFiles/screw12.stl
https://github.com/reivaxy/iotFeeder/blob/master/hardware/3DFiles/screw12-1.stl
It's split in two halves so that it can be easily printed flat without supports. Then the two parts are hold together by the bearings at each extremity, no need for glue.
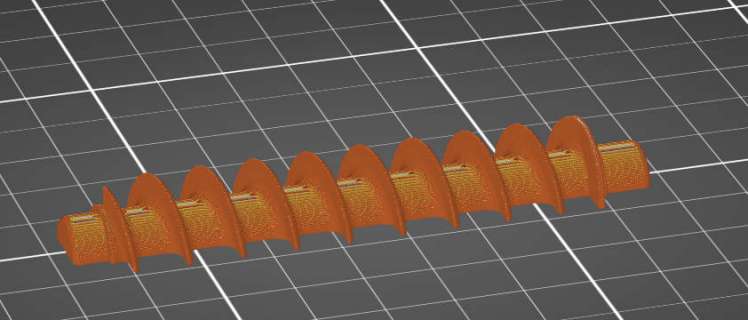
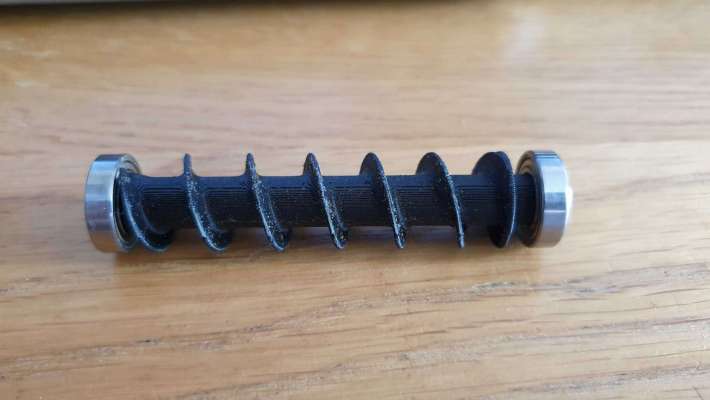
https://github.com/reivaxy/iotFeeder/blob/master/hardware/3DFiles/stepperPlate.stl
A 40 minute print.
It holds the stepper in place, along with the second bearing for the Archimedes' screw.
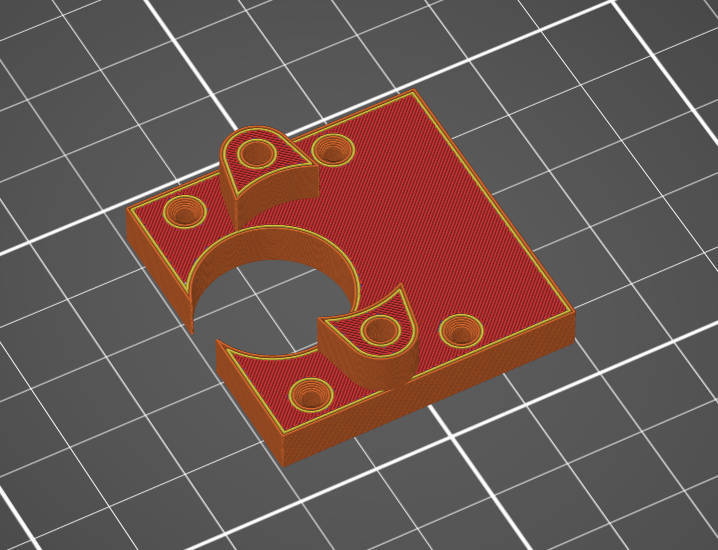
Just print it flat.
The holes for the stepper mount are printed "blind": there is a one layer thick "roof" at the transition from the larger screw head diameter to the smaller screw shaft diameter. It's a little trick to have a clean print without needing support. It's then easy to force the screw through it
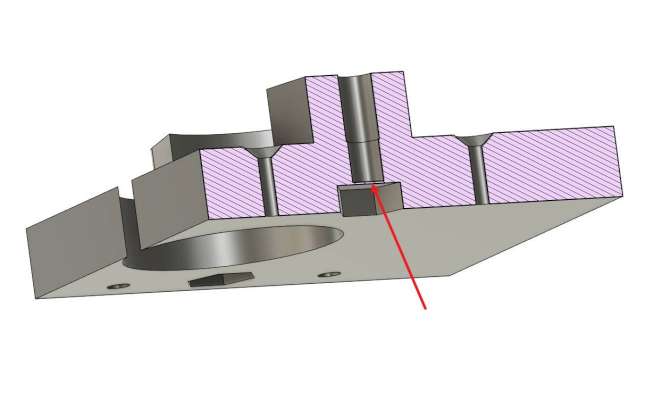
https://github.com/reivaxy/iotFeeder/blob/master/hardware/3DFiles/insert.stl
To ease mounting the stepper, the junction between the stepper axle and the archimedes' screw is using a small piece (the insert) that is tightly adjusted to the stepper axle, and then easily inserted in the screw cavity.
Since it's very adjusted, better print it with a smaller layer height, like 0.15 or even 0.10mm
Either one file:
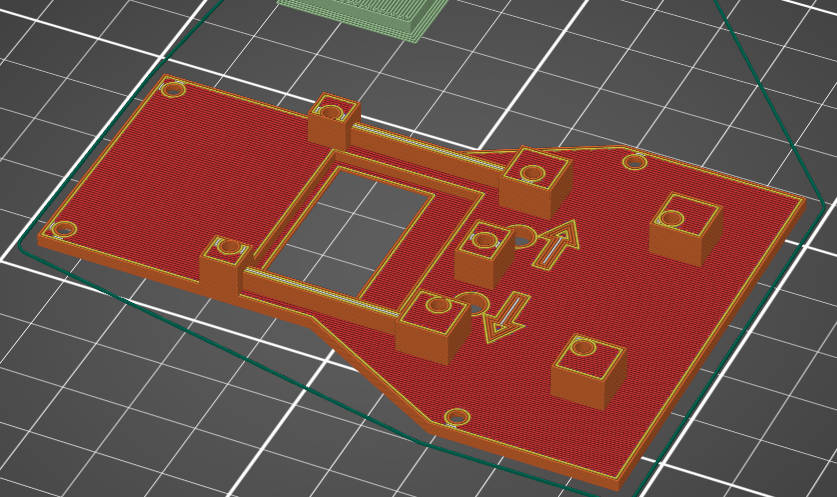
https://github.com/reivaxy/iotFeeder/blob/master/hardware/3DFiles/backNoArrows.stl
or 3:
https://github.com/reivaxy/iotFeeder/blob/master/hardware/3DFiles/backWithArrows.stl
https://github.com/reivaxy/iotFeeder/blob/master/hardware/3DFiles/forwardArrow.stl
https://github.com/reivaxy/iotFeeder/blob/master/hardware/3DFiles/reverseArrow.stl
1h40 when using MMU2s with two colors.
It comes in two flavors: with or without arrows above the two push button holes.
If you have a multi color printer, you can print the arrows in a color and the panel in another color. If you don't you can try printing the arrows separately and push them in the panel (may need to adjust dimensions). The arrows illustrate the role of the push buttons (moving forward, moving backward).
Of course, print it flat.
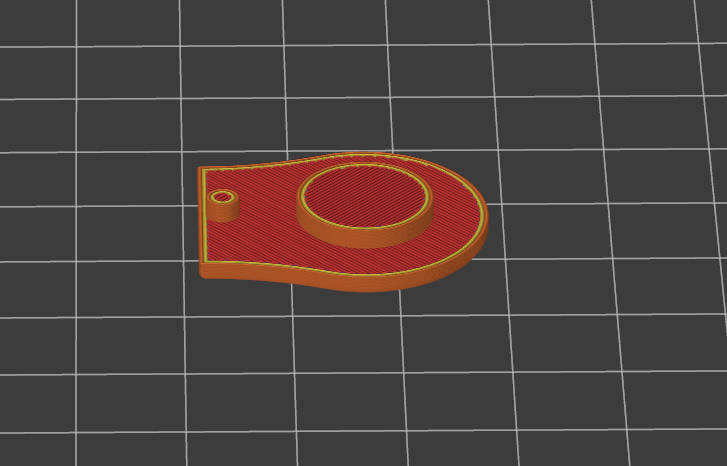
https://github.com/reivaxy/iotFeeder/blob/master/hardware/3DFiles/bearingCover.stl
17 minutes, printing very slowly since it's flex.
The front bearing is exposed to receiving water projections because of the opening I left in order to be able to dismount the bearing from the case.
To protect it, I've designed a small cover that can be printed with flex filament, flat, and that clips in the hole:
https://github.com/reivaxy/iotFeeder/blob/master/hardware/3DFiles/top.stl
About 1h10
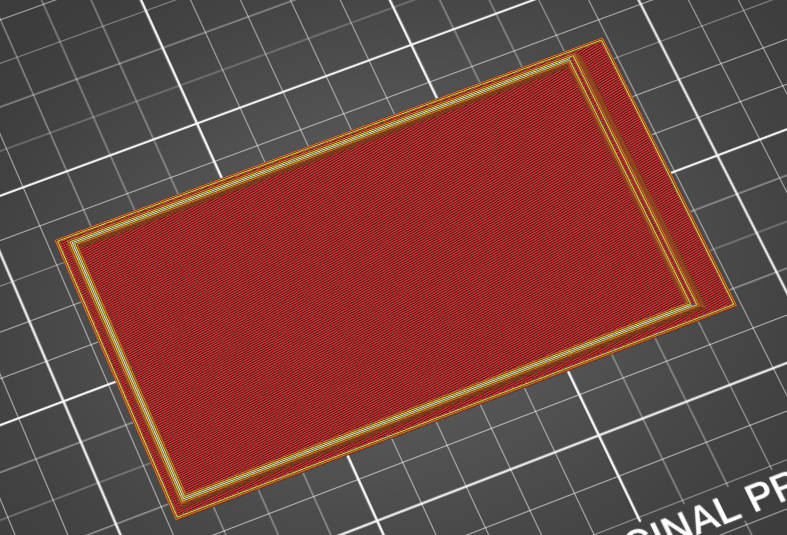
Just a flat cover to protect the food from the dust.
Several options are available:
- Rotation, and translation perpendicular to the aquarium side.
- only rotation
To be continued...