-
Notifications
You must be signed in to change notification settings - Fork 1
03. assembling
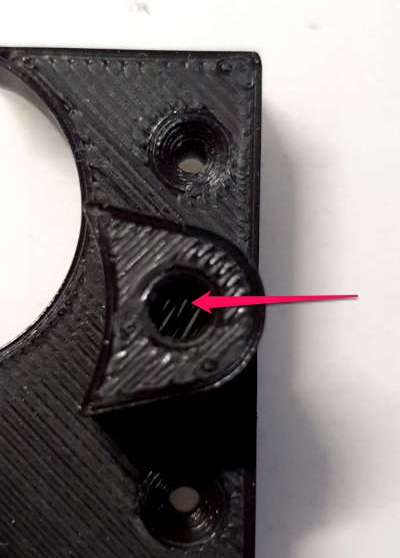
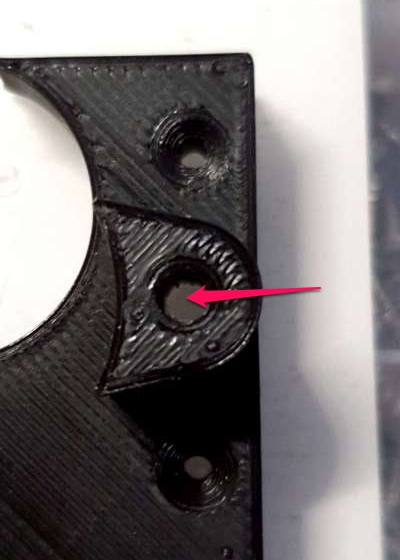
To make a good print without supports, the two bolt holes in the stepper plate are printed "blind": a thin layer needs to be removed by forcing a bold down each of them.
Before:
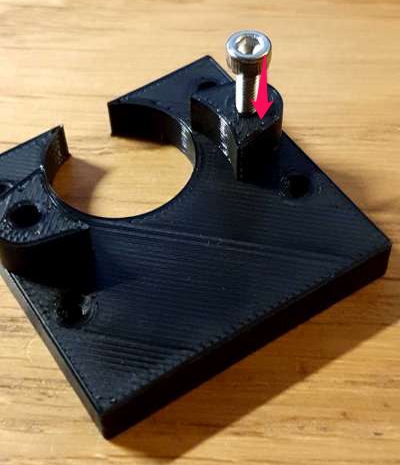
After:
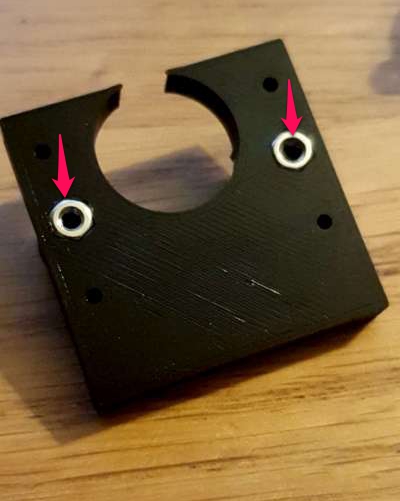
Place two M3 nuts in the stepper plate:
If you are using the case variant where the power jack is on on the bottom (and not on the side), you'll probably use a clamp to which the feeder needs to be attached.
You'll then need to insert two M3 nuts in the appropriate holes on the floor of the electronics compartment:
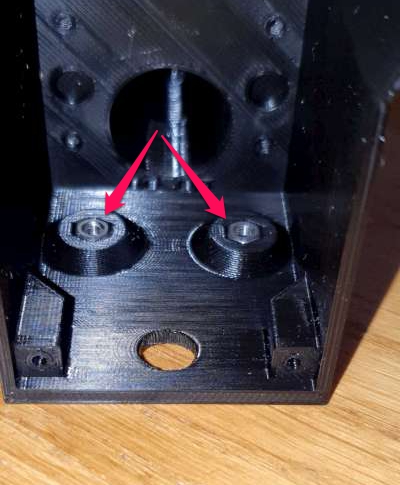
To make the nuts really fit all the way in their holes, you can screw the bolt on the opposite side and tighten, then remove it. If you do this, better use a washer to minimize damage the bolt head can do to the plastic surface when you tighten to pull the nut.
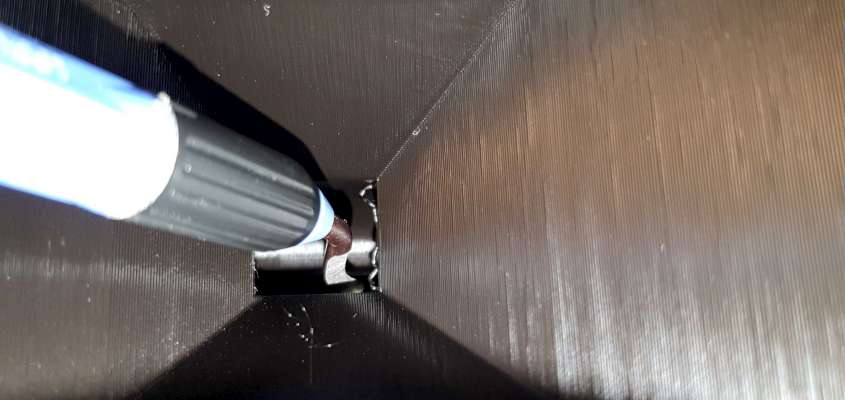
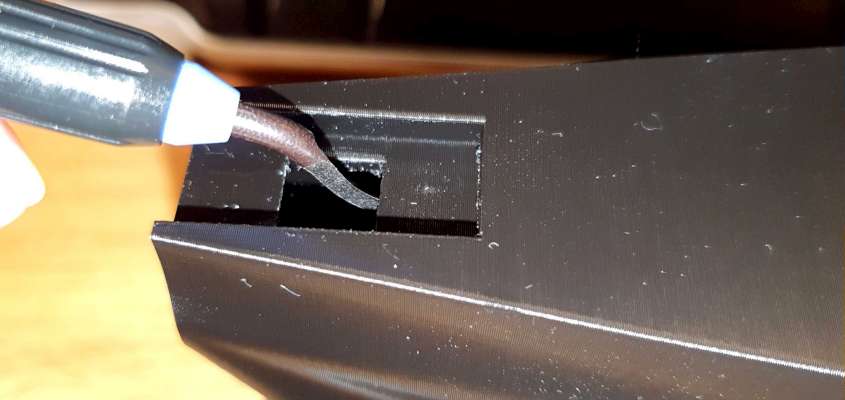
With your favorite cleaning tool (like a curvy cutter) clean the edges of the inlet and outlet food holes.
We want to make sure the Archimedes' screw will not be bothered by loose filaments.
Check with your finger down the Archimedes' screw well that there is no remaining asperities, the inside surface must be smooth.
Put the two halves of the Archimedes' screw together: on one side there should be a square cavity:
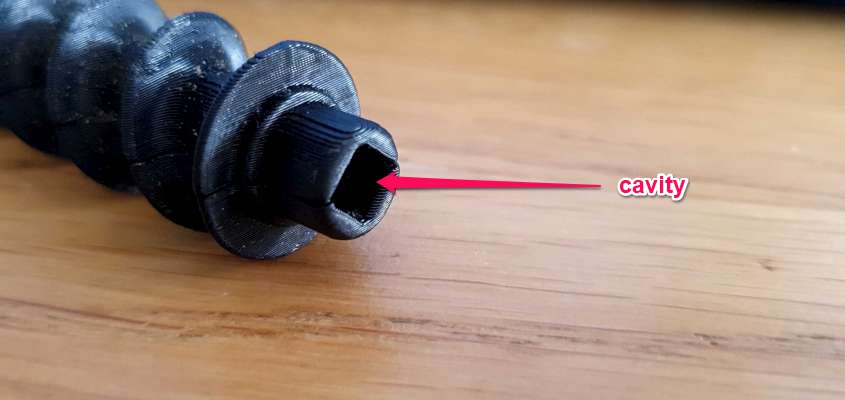
Insert the bottom without a square cavity inside a bearing ref 6800ZZ:
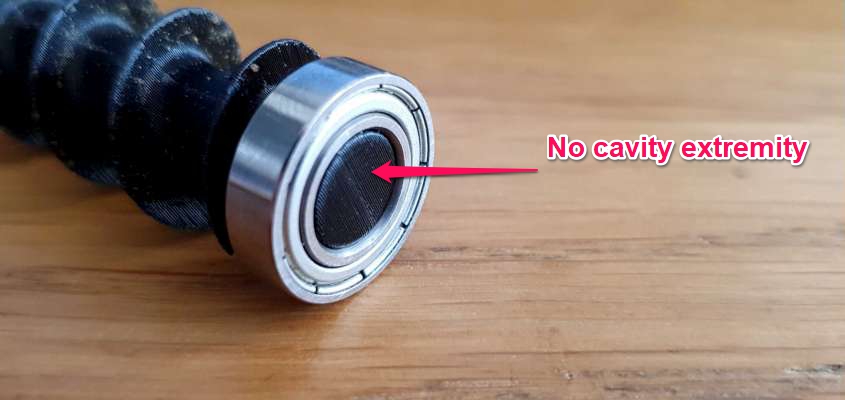
Insert the extremity with the bearing inside the case, and gently push the screw all the way in.
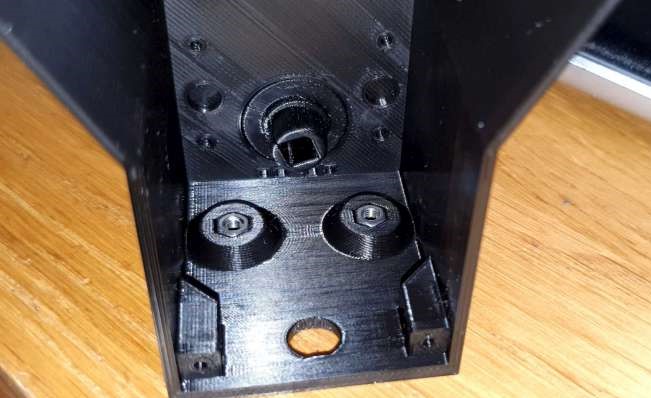
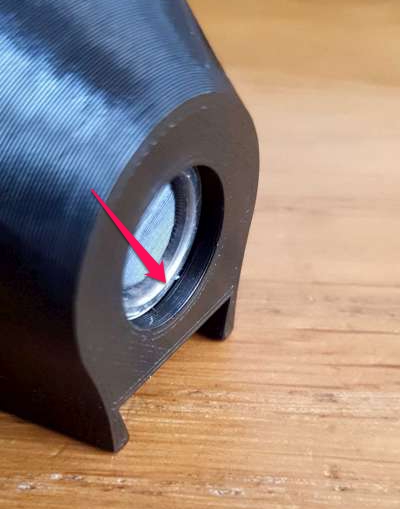
You'll then need to push very firmly to have the bearing get all the way inside its slot. It should snap in place, and there shouldn't be any gap between the bearing and the case:
Insert the second 6800ZZ bearing in the stepper plate slot:
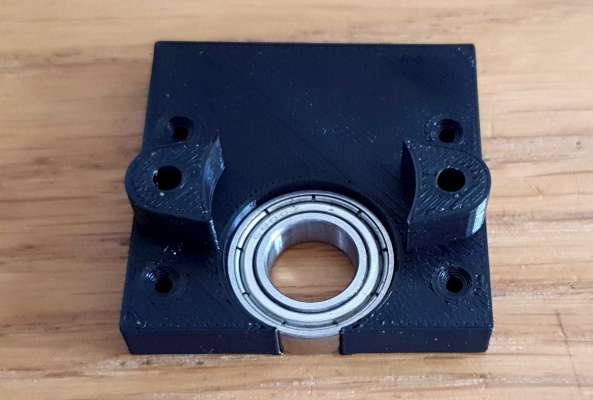
With your thumb on the bearing, push the stepper plate in place so that the Archimedes' screw extremity fits in the bearing.
Use four M2x12 flat head self tapping screws to secure the stepper plate in position.
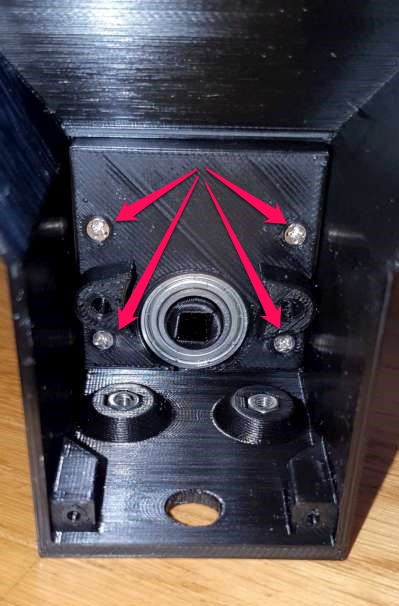
At this point, before proceeding, use a large screw driver inserted into the square cavity of the screw, make sure it can rotate freely with almost no friction.
If it can't, you may need to clean the inside of the screw well, or may be you didn't equally tighten the four stepper plate screws.
You need to push the small 3D printed part named "insert" down the shaft of the stepper, and you'll need a very firm push because it's very adjusted. It shouldn't go all the way down the shaft side cut:
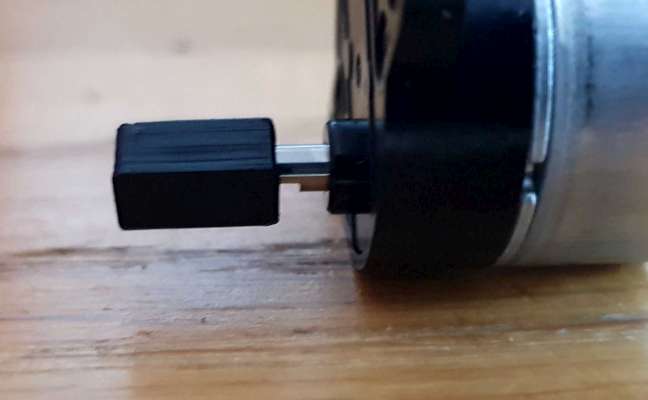
Then position the stepper on the stepper plate supports, inserting the "insert" into the archimedes' screw cavity, connector on top, and use two M3x16 to secure it.
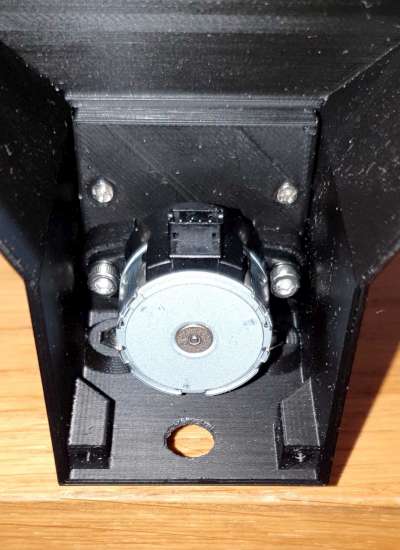
Here is an animation showing the previous steps: